COLORFUL

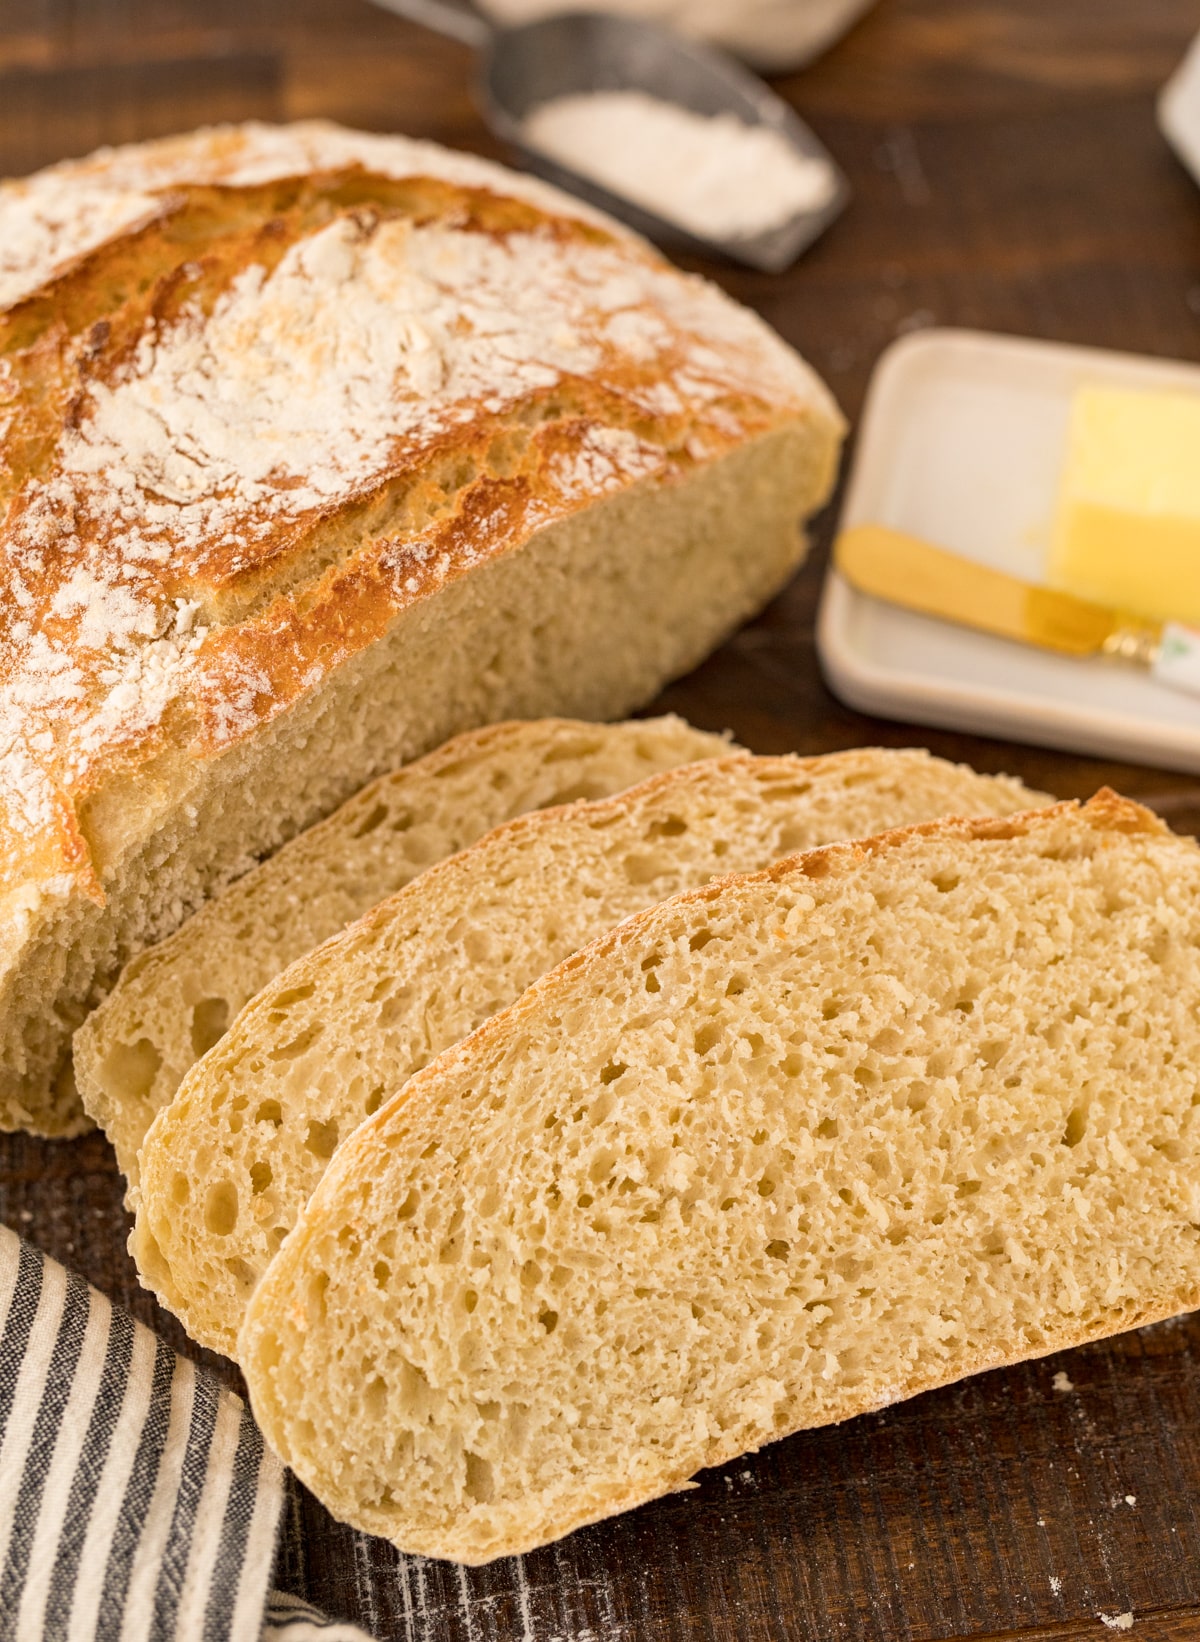
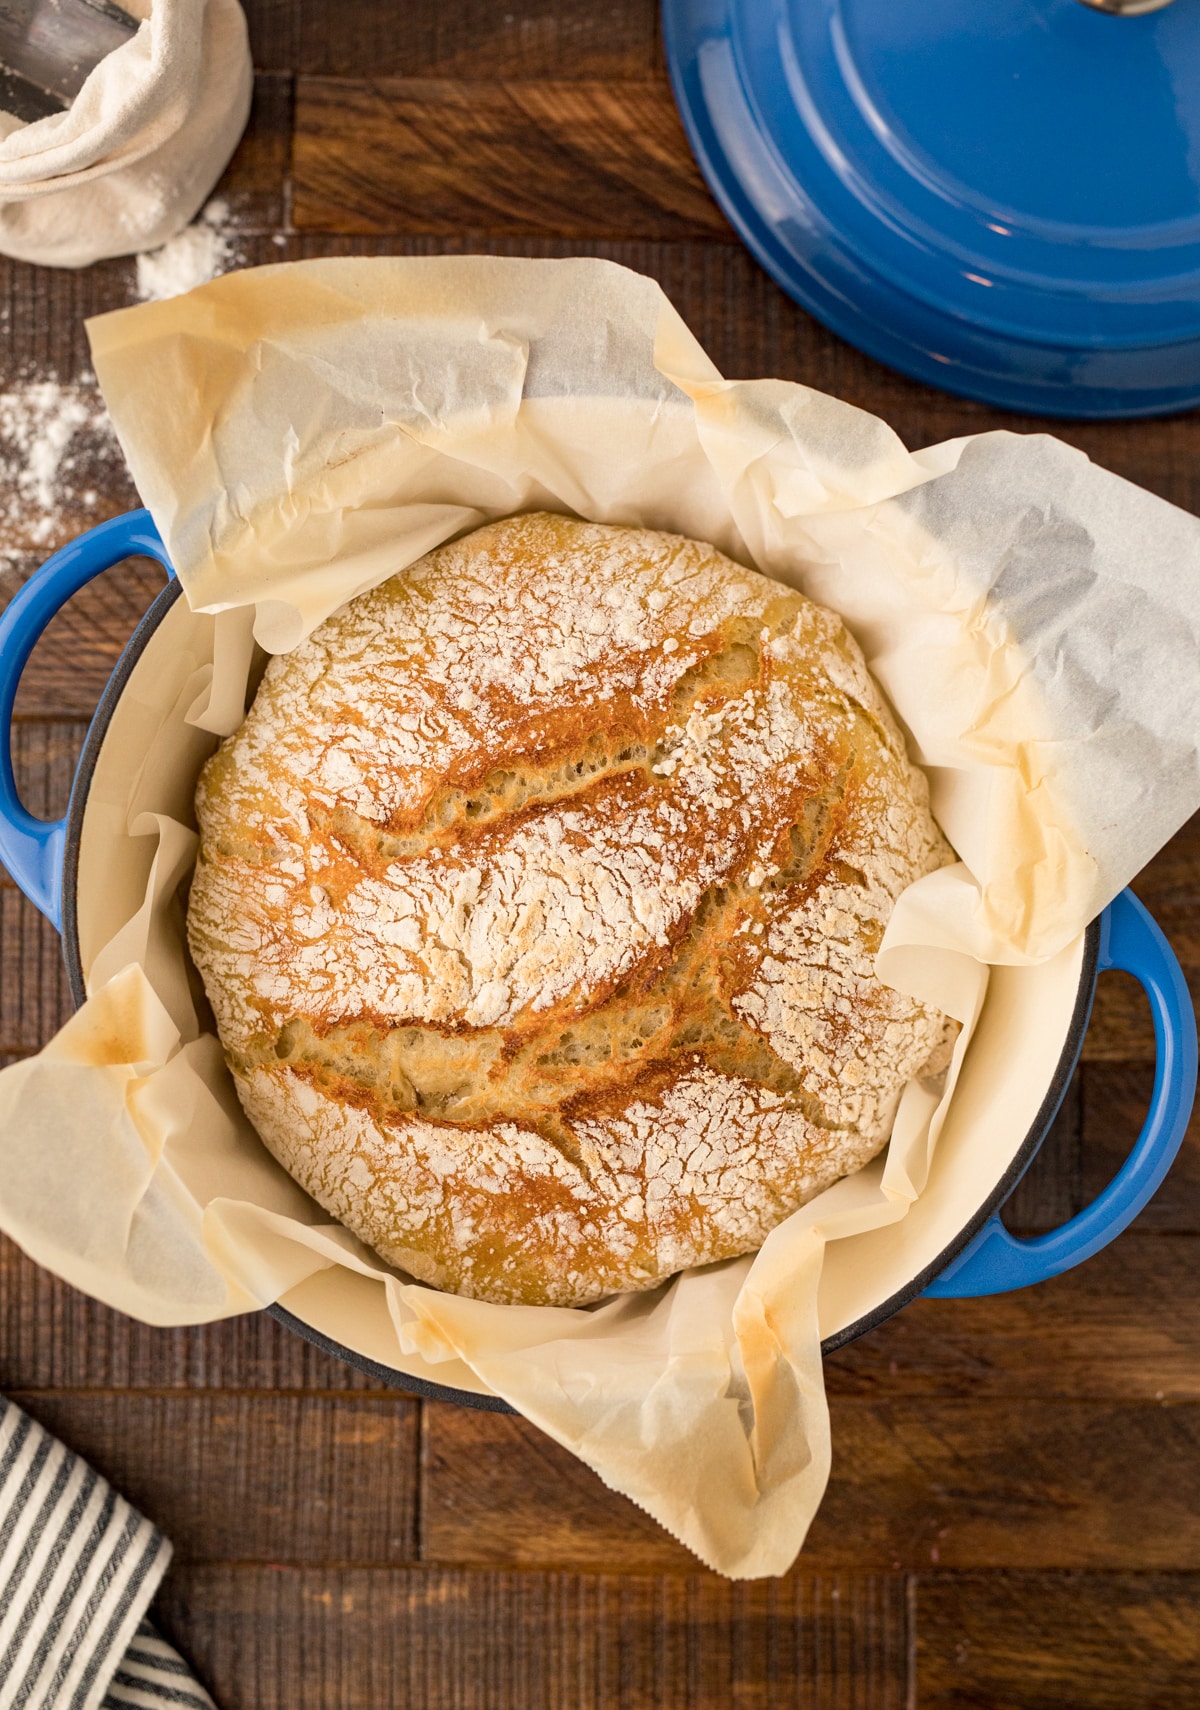
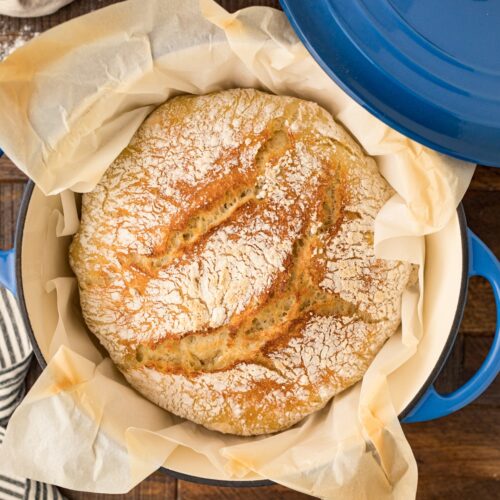
Let’s be real for a second: bread is the ultimate comfort food. From crusty artisanal loaves to soft, pillowy sandwich bread, there’s something about the smell, taste, and texture that just makes us feel warm and cozy inside. The only thing better than eating bread is making it yourself, and I have just the recipe for you: Homemade No Knead Bread. Yes, you read that right. No kneading required. Your hands will thank you, and your taste buds will rejoice.
Why You’ll Love This Recipe
The Simplicity of No Knead Bread
When I first came across this recipe, I thought it was too good to be true. A delicious, crusty loaf of bread that requires zero kneading? As a self-proclaimed lazy bread lover, I couldn’t wait to try it out. And let me tell you, it did not disappoint.
Not only is this recipe incredibly easy, but it’s also practically foolproof. With a handful of basic ingredients and minimal hands-on time, you’ll have a warm, fresh loaf of bread that looks and tastes like it came from a fancy bakery. If you’re a bread-making newbie or simply short on time, this recipe is the answer to your carb-loving prayers.
The Magic of Slow Rising
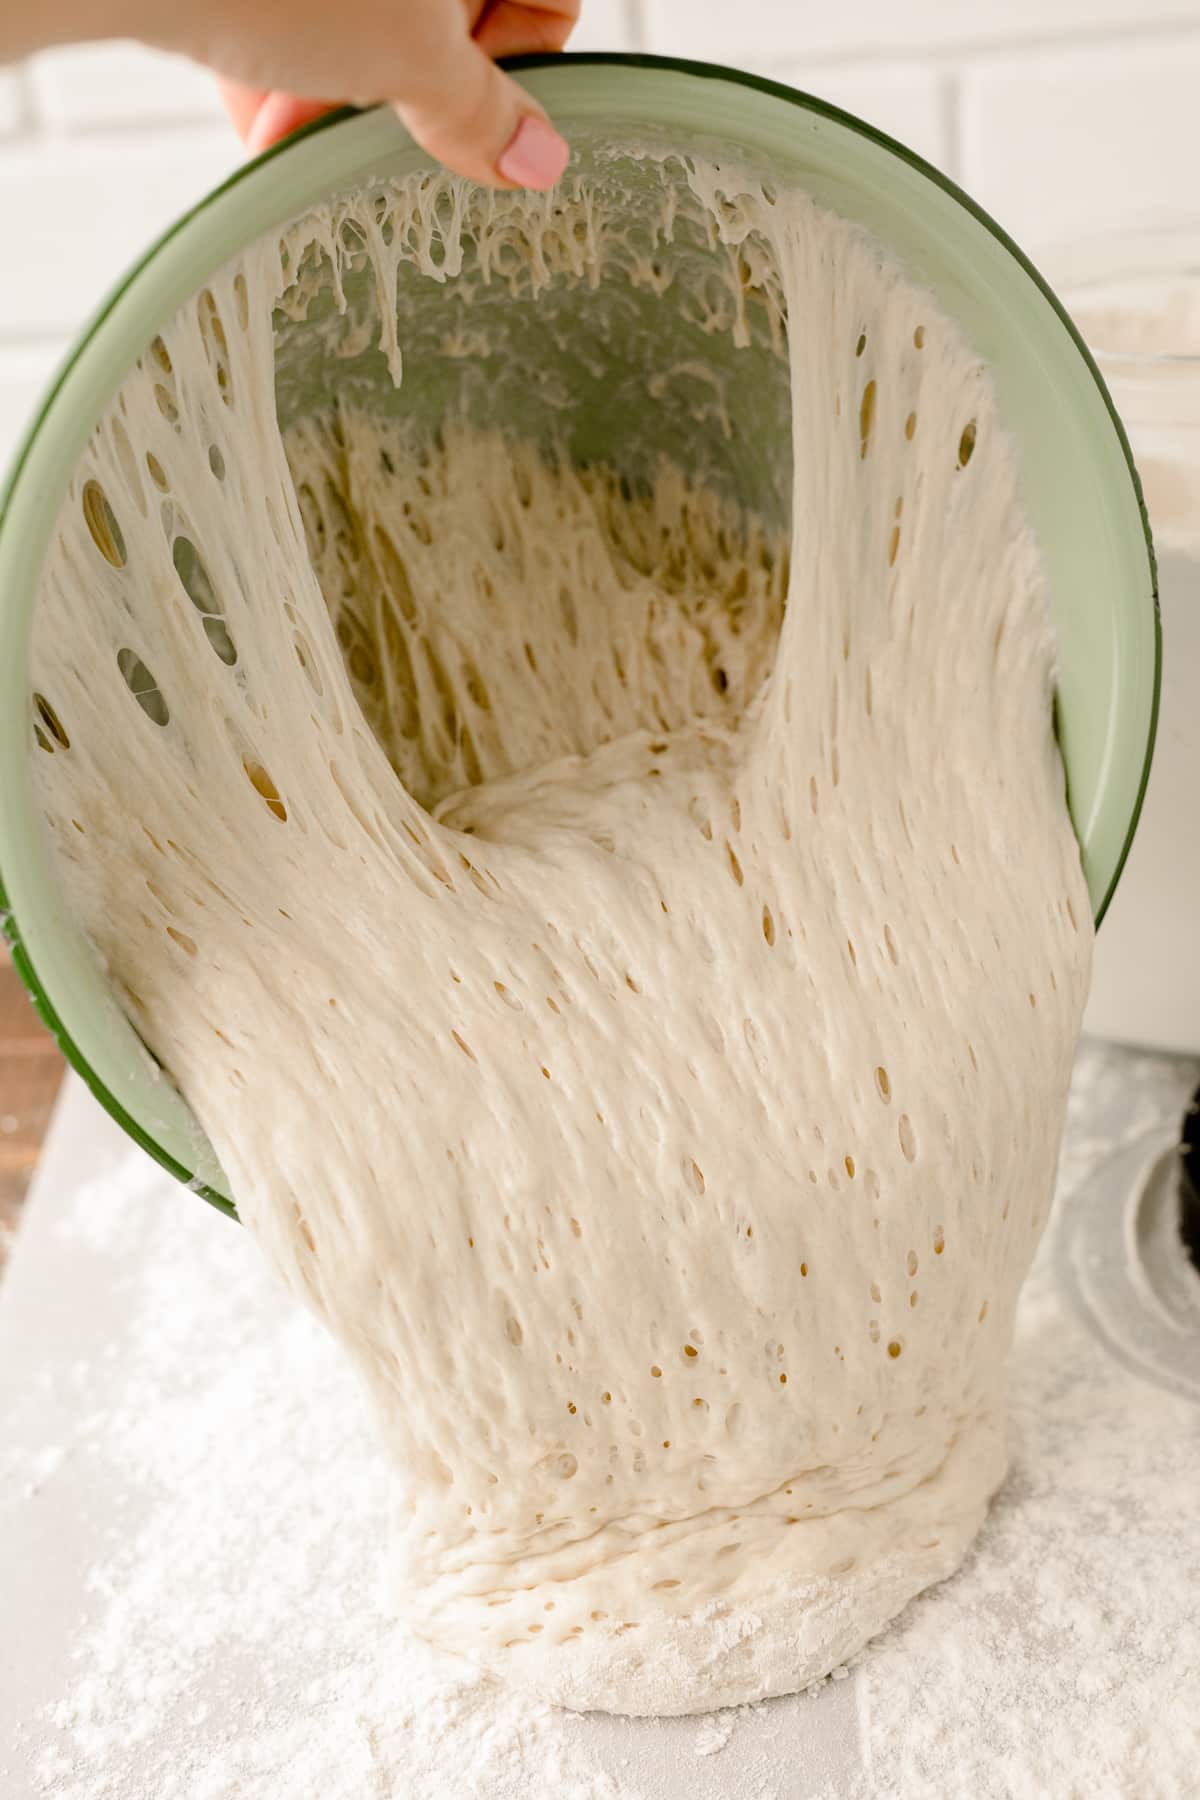
You might be wondering how this bread achieves its amazing texture and flavor without kneading. The secret lies in the slow rise. Unlike traditional bread recipes that require kneading to develop gluten and create structure, this no-knead bread relies on a long, slow fermentation process. The dough rests for 4-6 hours (or up to 12 hours if you’re prepping it the night before), allowing the yeast to work its magic and create a beautifully tender, chewy crumb with a complex flavor that only gets better as it cools.
Ingredients You’ll Need
- All Purpose Flour
- Salt
- Instant Yeast (Active Dry Yeast)
- Water, tepid
- Extra Flour for shaping loaf
- *see recipe card below for specific amounts
How to Make Homemade No Knead Bread
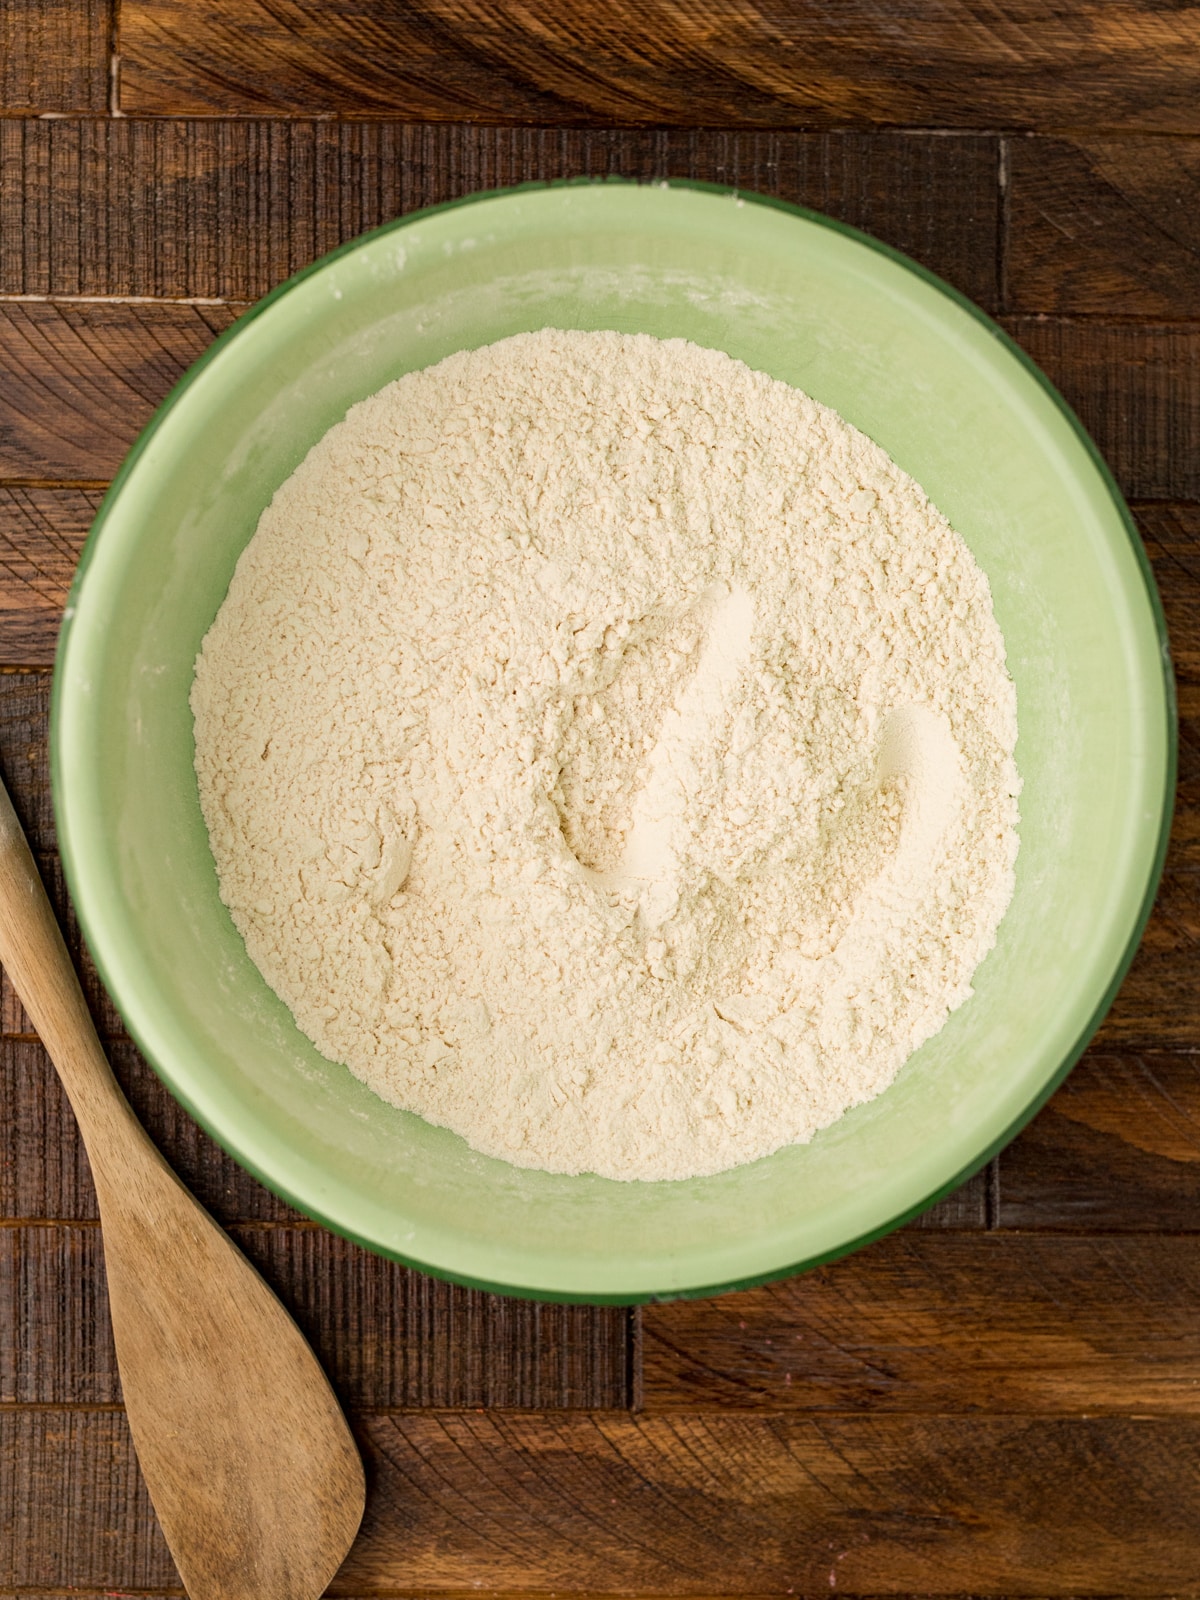
- In a large bowl lightly combine dry ingredients: flour, salt and yeast.
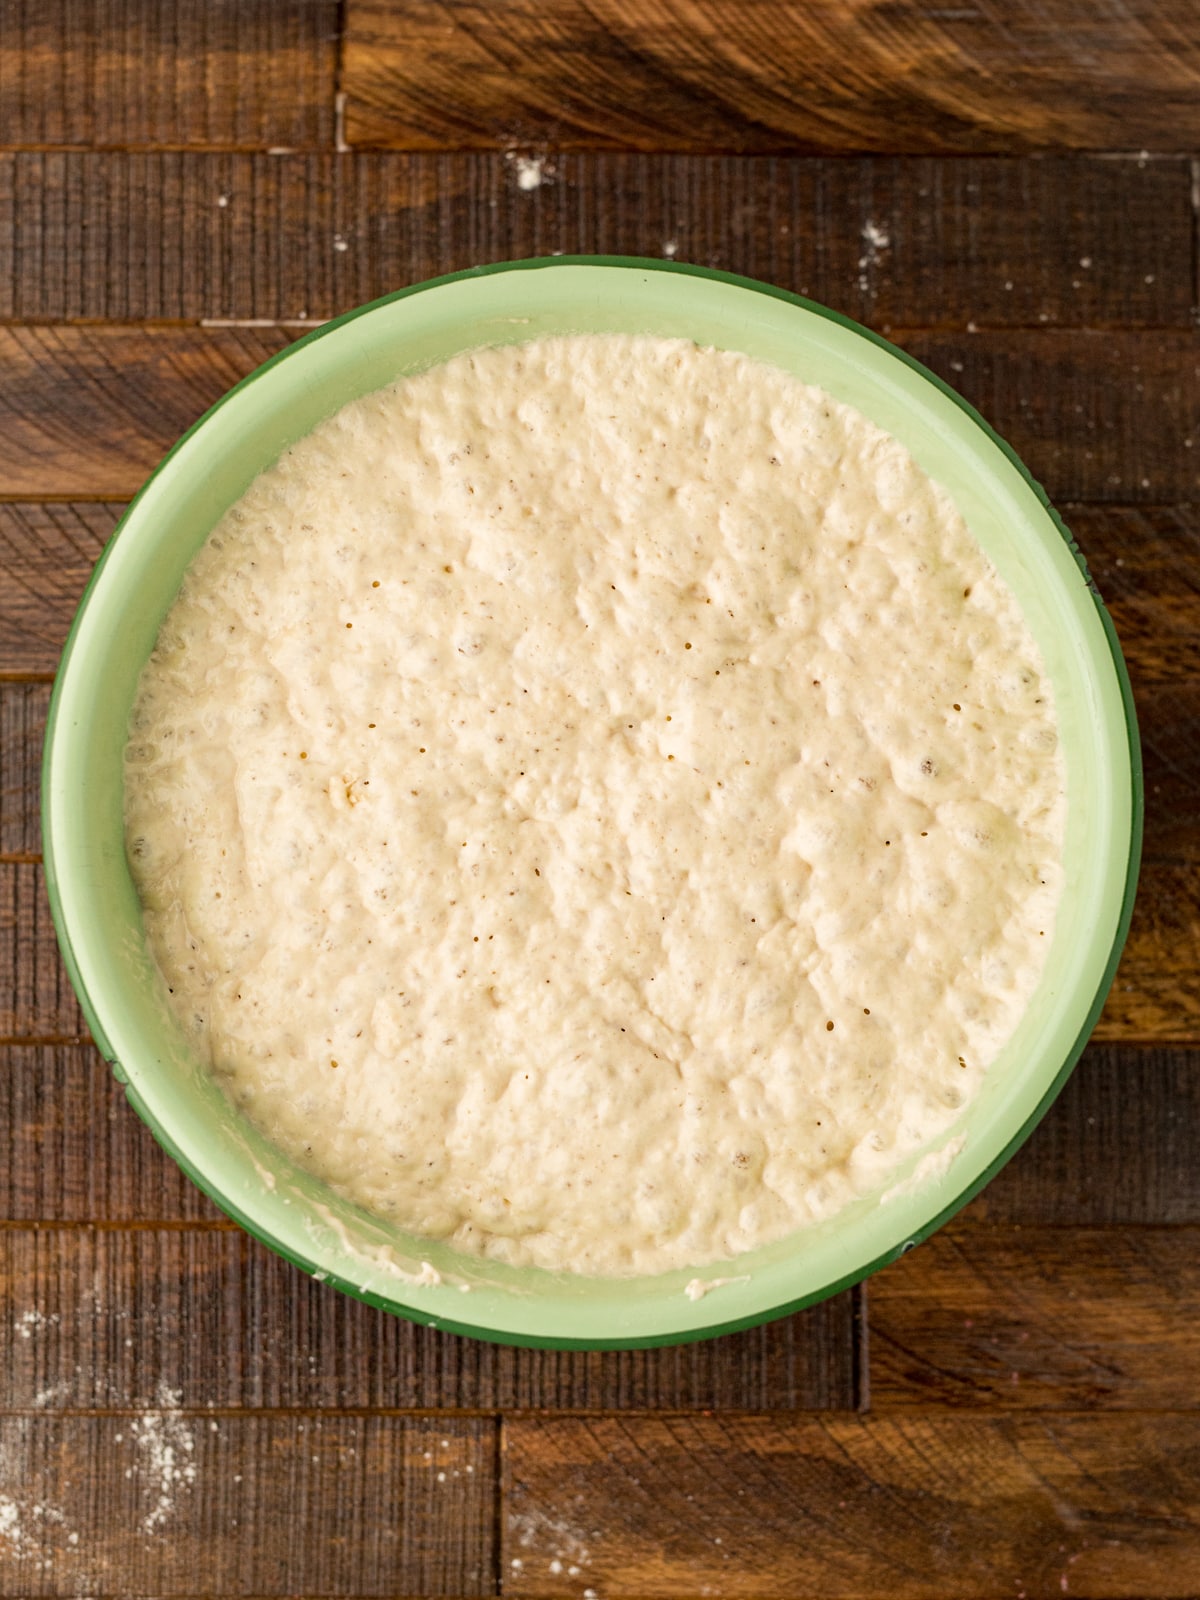
- Slowly pour in water and mix until dough is forming and wet. Cover with a damp towel or plastic rise and let rise for 4-6 hours. (If you are making the night before, you can allow the dough to rise up to 12 hours max)
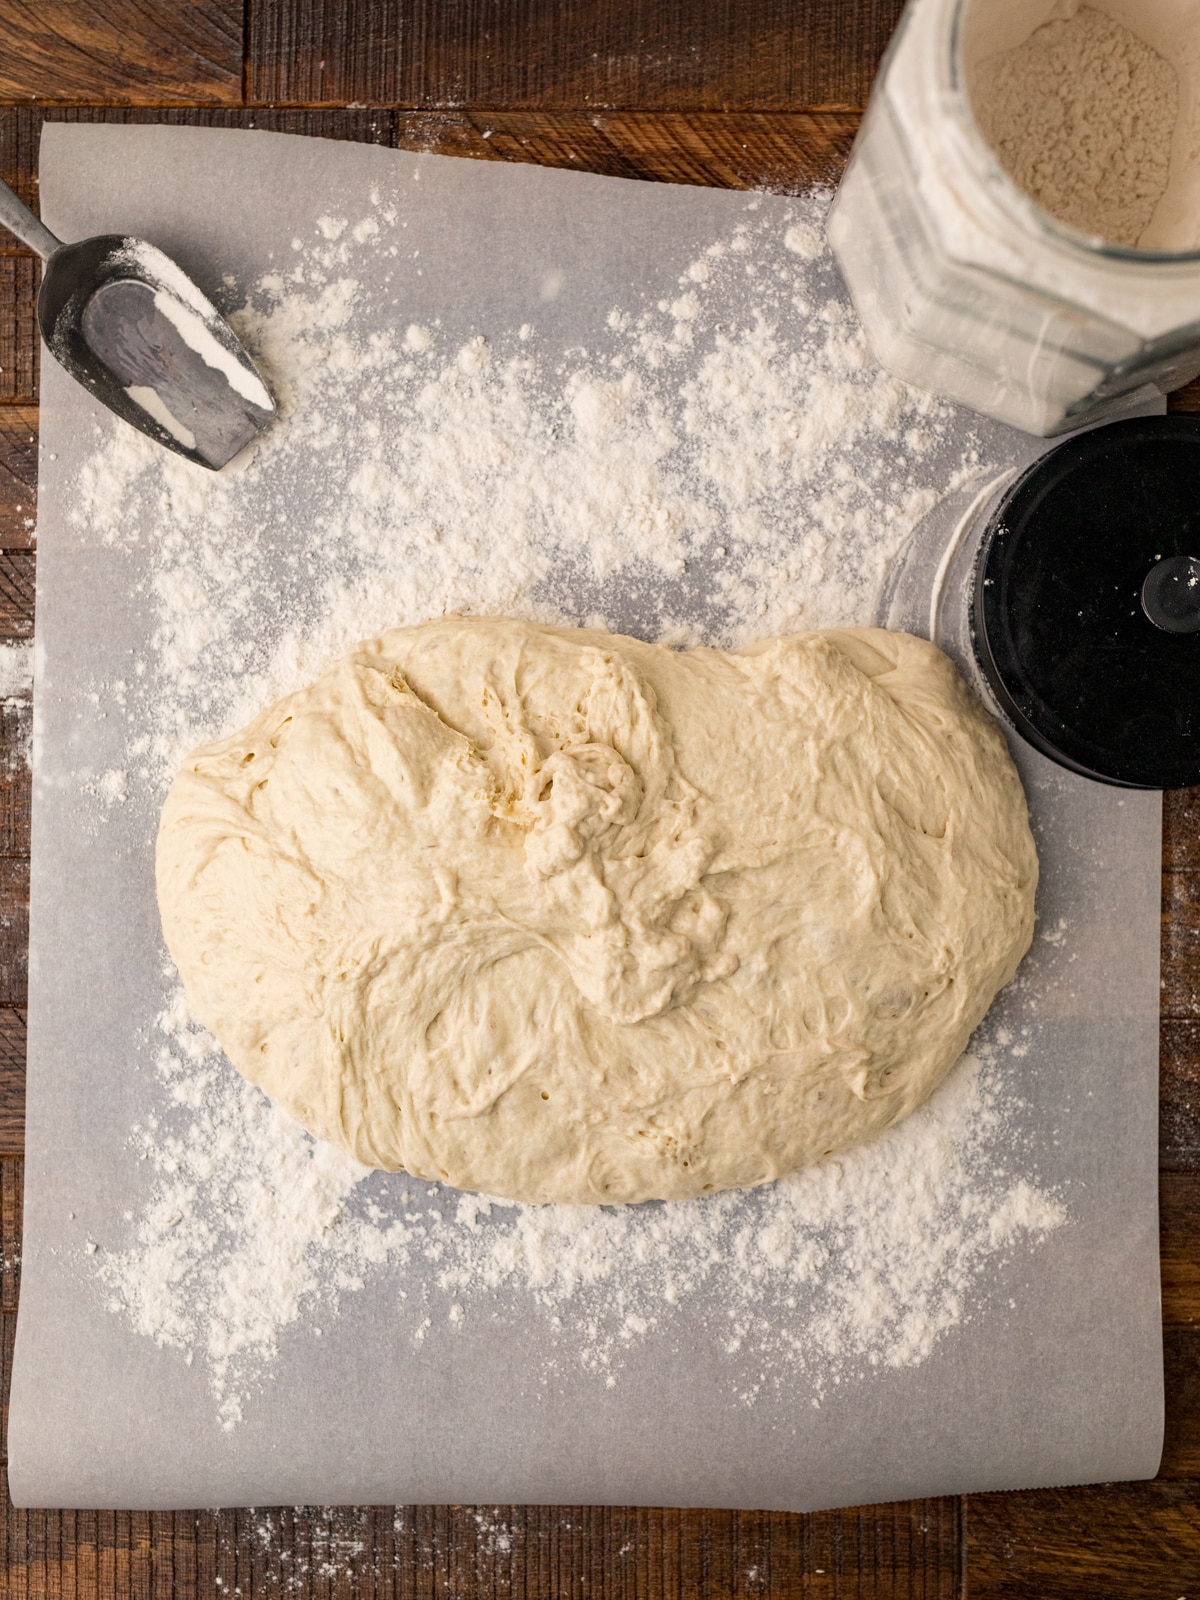
- Once dough has rested and doubled in size, lay out a large piece of parchment paper on your countertop and dust with flour.
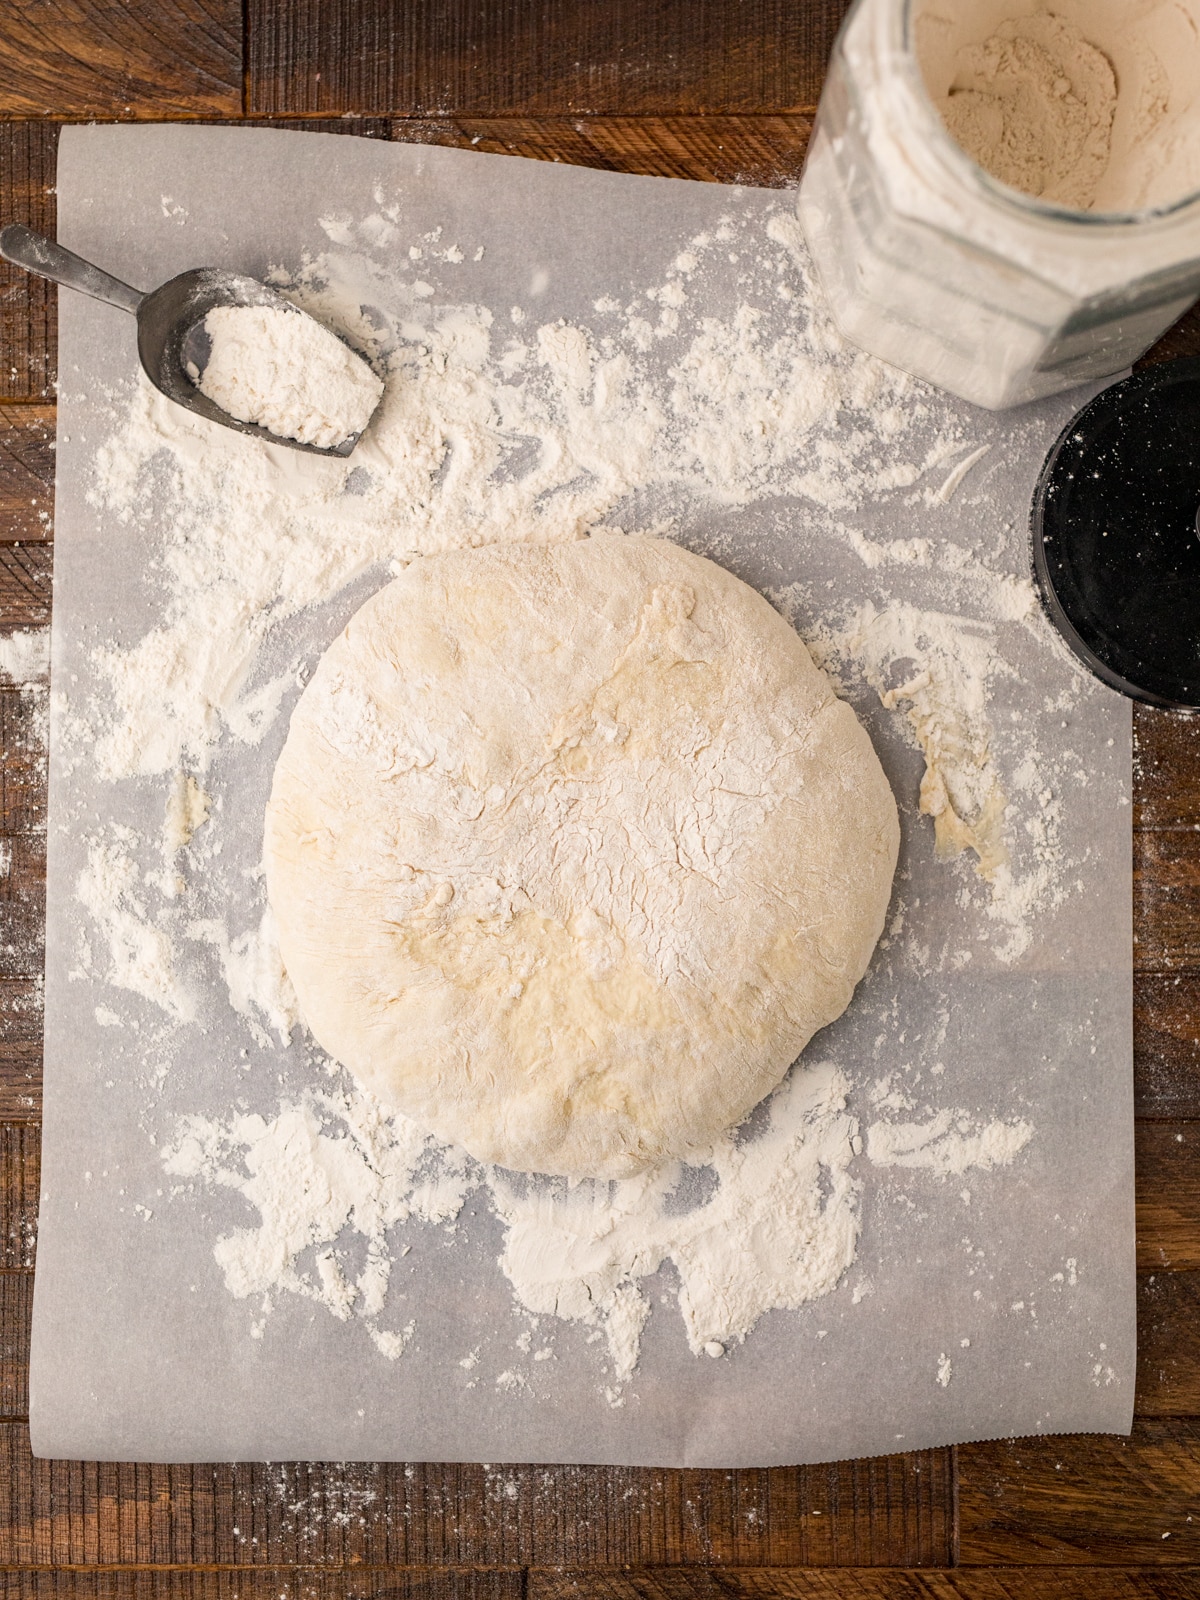
- Pour the wet dough onto the center of the floured parchment and fold the sides up and into itself, creating a round shape. Flip the dough over so the tucked edges are underneath and allow the dough to rest for 30 minutes.
- While the dough is resting, preheat the oven to 450 degrees and place your dutch oven inside to warm it up.
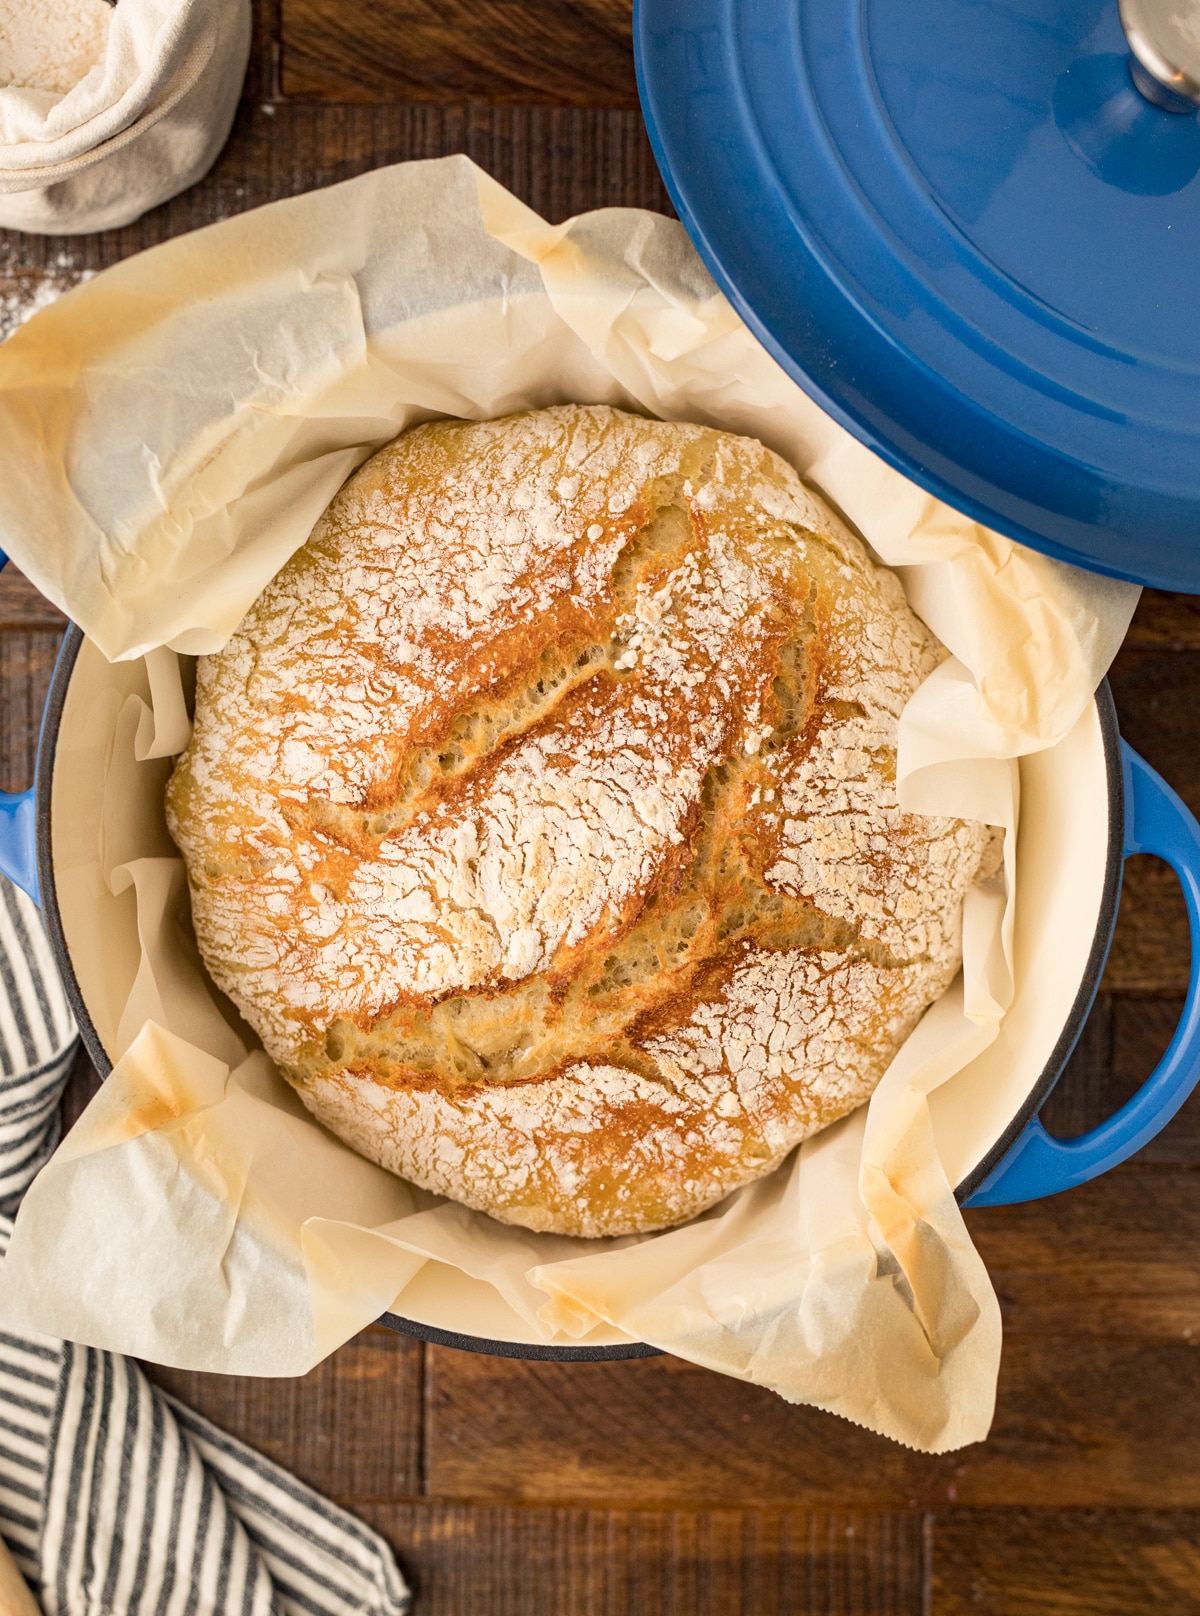
- After 30 minutes, remove the dutch oven pan from the oven and set aside. Score the top of the bread by making two cuts in the dough then pick up the entire dough ball using the parchment paper and sit it directly in the hot dutch oven. (Note: Your dough will be loose, that is typical of an artisanal no knead bread)
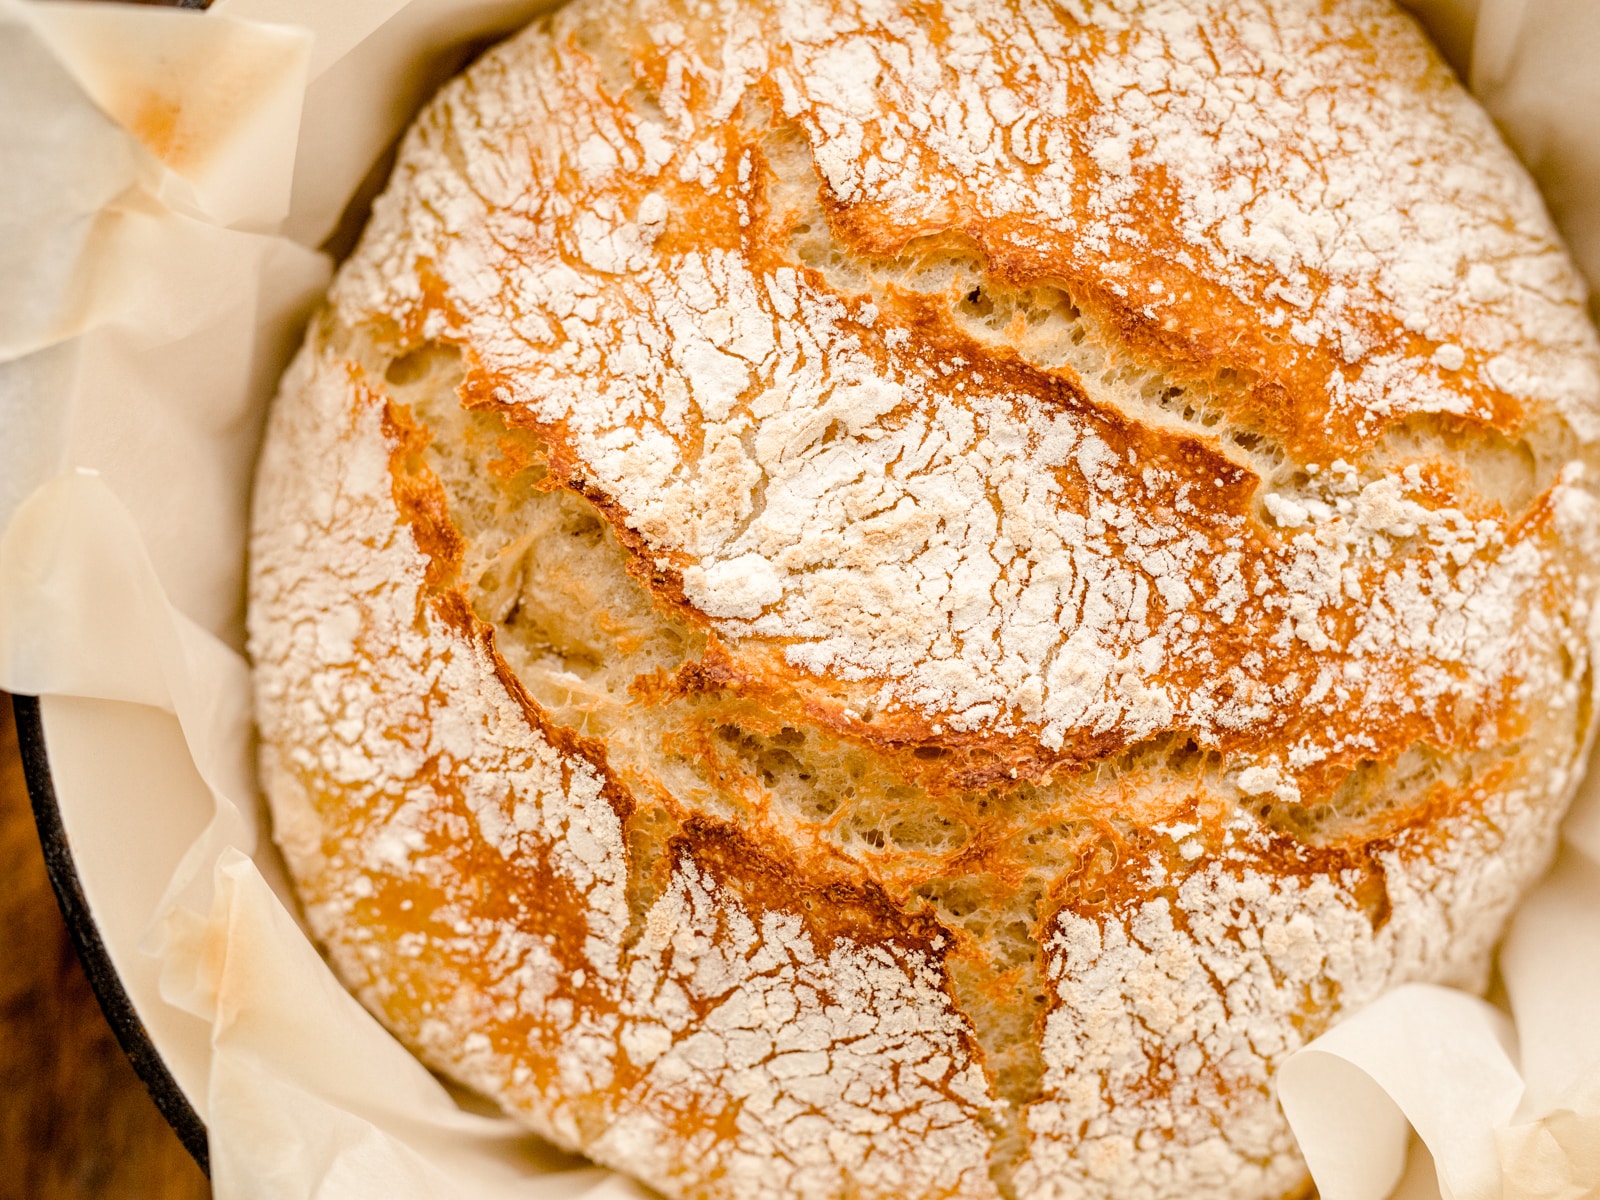
- Cover with a lid and bake for 35 minutes. Remove the lid and bake for an additional 5- 10 minutes or until the crust is golden, crispy.
Reheating and Storage Information
As much as we’d all love to polish off a whole loaf of bread in one sitting (no judgment here), sometimes it’s just not possible. So how do you store your homemade no-knead bread and ensure it stays fresh and delicious?
Storing Your Bread
- Counter Storage: If you plan to eat your bread within a day or two, simply store it on the counter in a bread box, a large plastic bag, or wrapped in a clean kitchen towel. This will help keep the bread fresh while still allowing the crust to remain crisp.
- Refrigerator Storage: While storing bread in the fridge can help extend its shelf life, it can also cause the bread to become dry and stale more quickly. If you must store your bread in the fridge, wrap it tightly in plastic wrap or aluminum foil to keep it from drying out. Keep in mind, though, that refrigeration may cause the crust to lose its crispiness.
- Freezer Storage: If you won’t be eating your bread within a few days, the freezer is your best bet. Simply wrap the loaf tightly in plastic wrap or aluminum foil, and then place it in a resealable plastic freezer bag. Your bread will stay fresh in the freezer for up to three months.
Reheating Your Bread
To reheat your homemade no-knead bread and recapture that just-baked taste and texture, follow these steps:
- Preheat your oven to 350°F.
- Remove any plastic wrap or aluminum foil from the bread. If your bread was frozen, let it thaw at room temperature for a few hours before reheating.
- Place the loaf on a baking sheet. If you’re reheating a portion of the loaf rather than the whole thing, wrap the cut side in aluminum foil to keep it from drying out.
- Reheat the bread for 10-15 minutes, or until it’s warmed through and the crust is crispy again. Keep an eye on your bread to ensure it doesn’t overcook or become too hard.
- Enjoy your delicious, warm bread! Serve it with butter, jam, or your favorite spread, or use it to make a scrumptious sandwich.
Helpful Cooking Notes
Before you dive into making your very own homemade no-knead bread, take a look at these helpful tips and tricks to ensure your loaf turns out perfectly every time.
Choosing the Right Flour
While this recipe calls for all-purpose flour, you can also experiment with different types of flour to create a variety of delicious breads. Whole wheat flour, bread flour, and even gluten-free flour blends can all be used in this recipe, although you may need to adjust the water content slightly to achieve the right dough consistency.
Using the Right Yeast
This recipe calls for instant yeast (also known as active dry yeast), which is a faster-acting, more potent yeast that doesn’t need to be dissolved in water before use. If you only have regular active dry yeast on hand, don’t worry – you can still make this bread! Simply dissolve the yeast in a small amount of the tepid water called for in the recipe, wait for it to become foamy, and then proceed with the rest of the recipe as written.
The Importance of Tepid Water
When it comes to activating yeast, water temperature is crucial. If the water is too cold, the yeast won’t activate; if it’s too hot, the yeast could die. Aim for tepid water, which should feel slightly warm to the touch (around 105-110°F, or 40-43°C).
Shaping the Dough
Don’t be alarmed if your dough seems wet and loose – this is normal for no-knead bread recipes. When shaping your dough, be gentle and try not to overwork it, as this can lead to a denser loaf. The goal is to create a smooth, round shape with the tucked edges hidden underneath.
The Magic of Dutch Ovens
A Dutch oven is the key to achieving that perfectly crusty exterior on your no-knead bread. The heavy, lidded pot traps steam as the bread bakes, creating a moist environment that promotes a crispy crust. If you don’t have a Dutch oven, you can try using a heavy, oven-safe pot with a tight-fitting lid, or even a cast-iron skillet with a lid or foil cover. Just be sure to preheat your chosen vessel in the oven to ensure even baking.
Experimenting with Add-Ins
Once you’ve mastered the basic homemade no-knead bread recipe, why not get creative and add some flair to your loaf? There are countless possibilities when it comes to mix-ins and flavor combinations, so don’t be afraid to let your imagination run wild. Here are some ideas to get you started:
- Herbs and Spices: Fresh or dried herbs such as rosemary, thyme, or basil can add a delightful burst of flavor to your bread. Spices like garlic powder, onion powder, or even a touch of smoked paprika can also enhance the taste and aroma of your loaf.
- Cheese: Who doesn’t love cheesy bread? Try adding grated Parmesan, cheddar, Gruyere, or your favorite cheese to the dough for an extra layer of flavor and texture.
- Seeds and Nuts: For added crunch and nutrition, mix in a handful of seeds or nuts. Sunflower seeds, pumpkin seeds, flaxseeds, walnuts, or almonds all make great additions to your no-knead bread.
- Olives and Sundried Tomatoes: Give your bread a Mediterranean twist by adding chopped olives and sundried tomatoes. These flavorful ingredients pair beautifully with a sprinkle of dried oregano or basil.
- Dried Fruit: For a slightly sweet and chewy variation, try adding raisins, currants, or chopped dried apricots to your dough. This can be especially delicious when combined with nuts and spices like cinnamon or nutmeg.
To incorporate your chosen add-ins, simply mix them into the dough along with the dry ingredients before adding the water. Keep in mind that some additions, like cheese or fresh herbs, may release moisture as they cook, so you may need to adjust the water content of your dough accordingly.
Making No-Knead Bread in Advance
One of the great things about this homemade no-knead bread recipe is its flexibility. If you want to have freshly baked bread in the morning but don’t want to wake up at the crack of dawn to start the process, you can prepare the dough the night before and let it rise for up to 12 hours. This extended rise time not only makes for a more convenient baking schedule, but it also allows the flavors to develop even further, resulting in an even tastier loaf.
Troubleshooting Common Issues
As simple as this recipe is, there’s always a chance that you may run into some issues along the way. Here are a few common problems and their solutions:
- Dough is too sticky or wet: If your dough is too sticky or wet to handle, try adding a little more flour, a tablespoon at a time, until it becomes more manageable. Keep in mind, though, that this dough is meant to be wetter than traditional bread doughs, so don’t be alarmed if it’s a bit sticky.
- Bread is dense or heavy: If your bread turns out dense or heavy, it may be because the dough was overworked during shaping, or the yeast didn’t have enough time to work its magic. Make sure to handle the dough gently and allow it to rise for the full recommended time.
- Bread is undercooked in the center: If your bread is done on the outside but still doughy in the center, try lowering your oven temperature by 25°F (15°C) and baking for a longer period of time. Keep an eye on the bread to ensure it doesn’t become too dark on the outside.
Now that you’re armed with all the knowledge and tips you need, it’s time to get baking! Roll up your sleeves, gather your ingredients, and prepare to wow your friends and family with the easiest, most delicious homemade no-knead bread they’ve ever tasted. Trust me, you’ll never want to buy store-bought bread again. Happy baking!
INGREDIENTS
- 3 1/2 cups Flour
- 1 1/2 tsp Salt
- 3/4 tsp Yeast, Active Dry Yeast
- 2 1/4 cups Water, tepid
- extra flour for shaping dough
INSTRUCTIONS
- In a large bowl lightly combine dry ingredients: flour, salt and yeast.
- Slowly pour in tepid water and mix until dough is forming and wet. Cover with a damp towel or plastic rise and let rise for 4-6 hours. (If you are making the night before, you can allow the dough to rise up to 12 hours max)
- Once dough has rested and doubled in size, lay out a large piece of parchment paper on your countertop and dust with flour.
- Pour the wet dough onto the center of the floured parchment and fold the sides up and into itself, creating a round shape. Flip the dough over so the tucked edges are underneath and allow the dough to rest for 30 minutes.
- While the dough is resting, preheat the oven to 450 degrees and place your dutch oven inside to warm it up.
- After 30 minutes, remove the dutch oven pan from the oven and set aside. Score the top of the bread by making two cuts in the dough then pick up the entire dough ball using the parchment paper and sit it directly in the hot dutch oven. (Note: Your dough will be loose, that is typical of an artisanal no knead bread)
- Cover with a lid and bake for 35 minutes. Remove the lid and bake for an additional 5- 10 minutes or until the crust is golden, crispy.
NOTES
Storing Your Bread
- Counter Storage: If you plan to eat your bread within a day or two, simply store it on the counter in a bread box, a large plastic bag, or wrapped in a clean kitchen towel. This will help keep the bread fresh while still allowing the crust to remain crisp.
- Refrigerator Storage: While storing bread in the fridge can help extend its shelf life, it can also cause the bread to become dry and stale more quickly. If you must store your bread in the fridge, wrap it tightly in plastic wrap or aluminum foil to keep it from drying out. Keep in mind, though, that refrigeration may cause the crust to lose its crispiness.
- Freezer Storage: If you won’t be eating your bread within a few days, the freezer is your best bet. Simply wrap the loaf tightly in plastic wrap or aluminum foil, and then place it in a resealable plastic freezer bag. Your bread will stay fresh in the freezer for up to three months.
Reheating Your Bread
To reheat your homemade no-knead bread and recapture that just-baked taste and texture, follow these steps:- **Preheat your oven to 350°F (175°C).
- Remove any plastic wrap or aluminum foil from the bread. If your bread was frozen, let it thaw at room temperature for a few hours before reheating.
- Place the loaf on a baking sheet. If you’re reheating a portion of the loaf rather than the whole thing, wrap the cut side in aluminum foil to keep it from drying out.
- Reheat the bread for 10-15 minutes, or until it’s warmed through and the crust is crispy again. Keep an eye on your bread to ensure it doesn’t overcook or become too hard.
- Enjoy your delicious, warm bread! Serve it with butter, jam, or your favorite spread, or use it to make a scrumptious sandwich.
Do You Need a Dutch Oven?
A Dutch oven is the key to achieving that perfectly crusty exterior on your no-knead bread. The heavy, lidded pot traps steam as the bread bakes, creating a moist environment that promotes a crispy crust. If you don’t have a Dutch oven, you can try using a heavy, oven-safe pot with a tight-fitting lid, or even a cast-iron skillet with a lid or foil cover. Just be sure to preheat your chosen vessel in the oven to ensure even baking.NUTRITION
Serving: 12gCalories: 133kcalCarbohydrates: 28gProtein: 4gFat: 0.4gSaturated Fat: 0.1gPolyunsaturated Fat: 0.2gMonounsaturated Fat: 0.04gSodium: 294mgPotassium: 41mgFiber: 1gSugar: 0.1gVitamin C: 0.001mgCalcium: 7mgIron: 2mg
Tried this recipe?Mention @sweettea_and_sprinkles or tag #sweetteaandsprinkles