COLORFUL
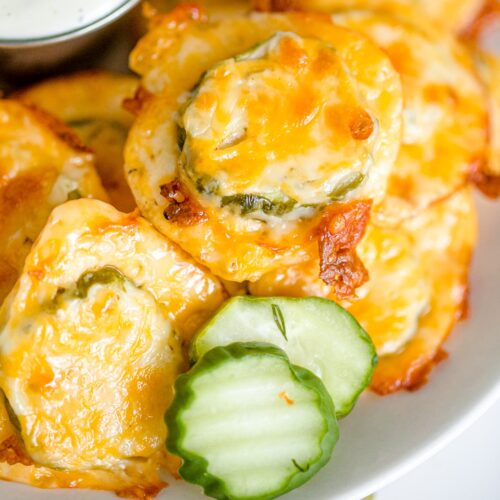
If you’re on the hunt for a snack that will wow your taste buds, look no further. These Cheesy Pickle Chips are about to become your new go-to, and we’re here to walk you through the entire process. With their tangy, cheesy, and savory flavor combo, they’re a crowd-pleaser that will have everyone reaching for seconds.
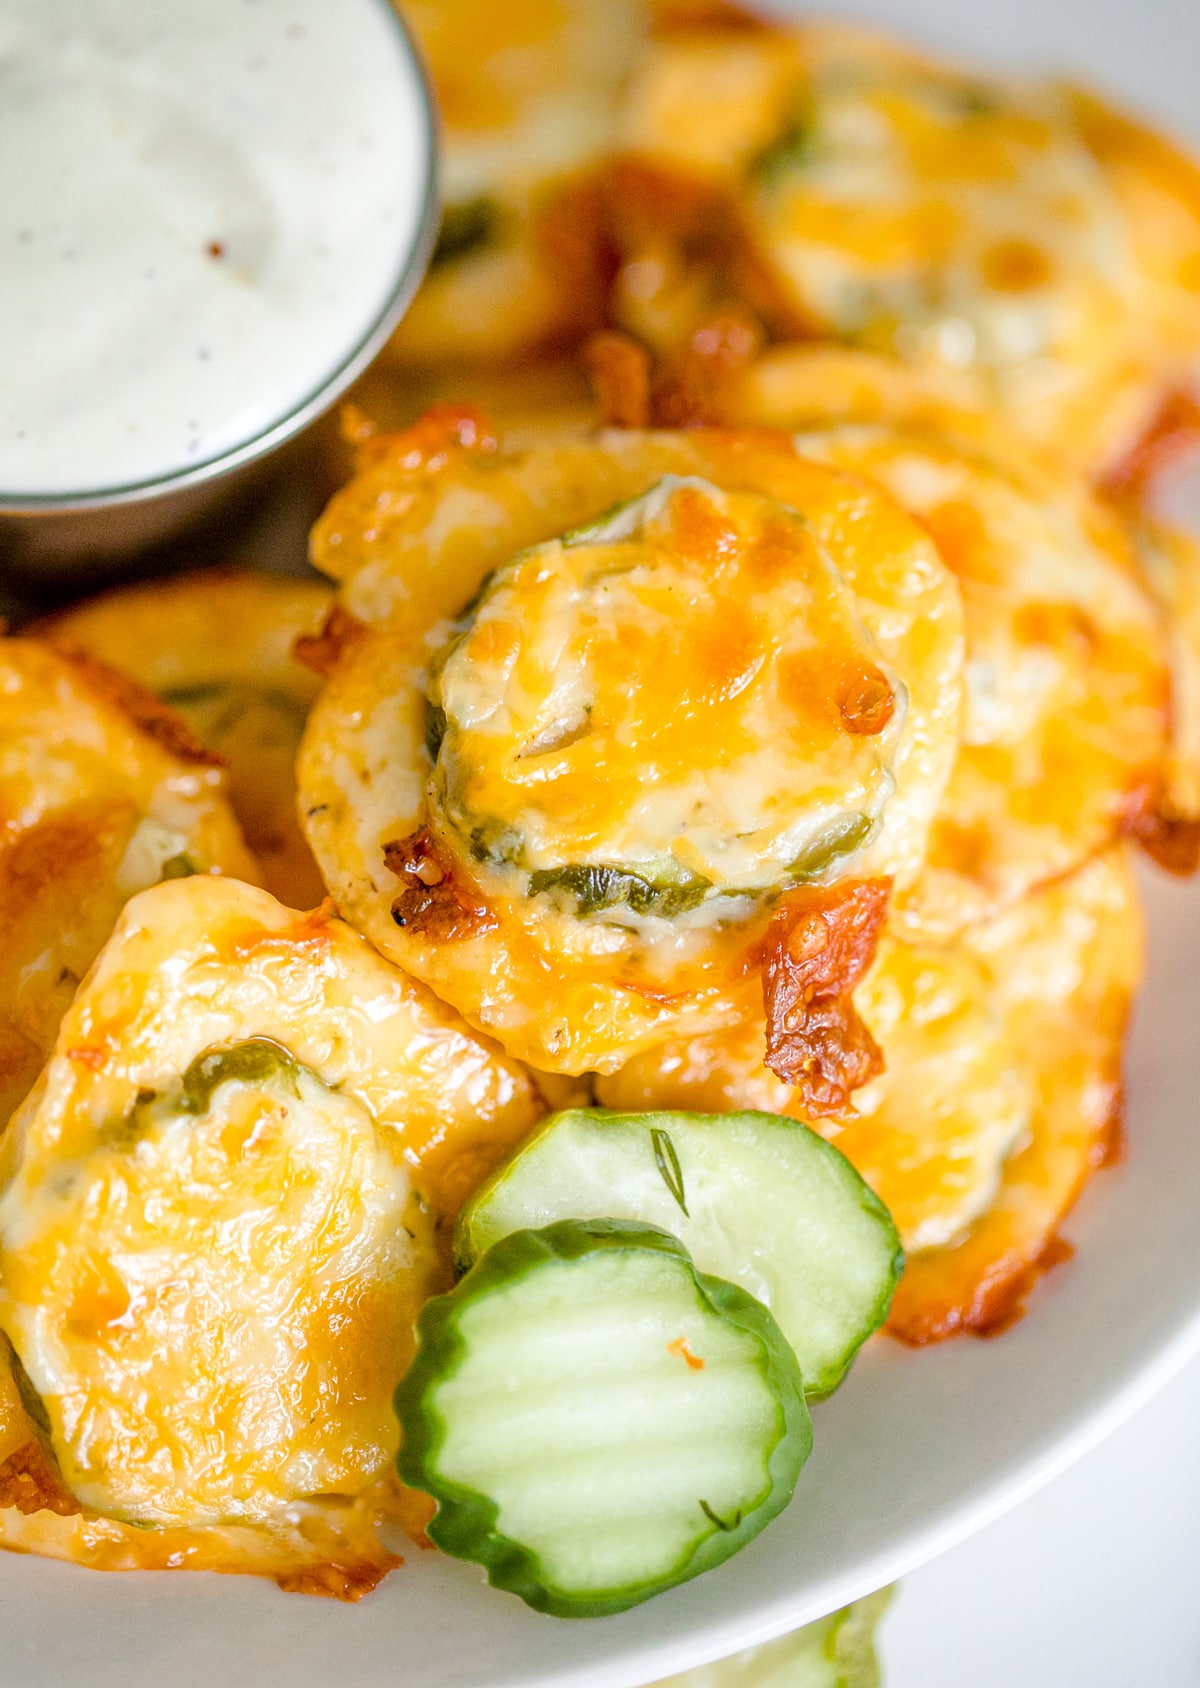
Table of Contents
Why You’ll Love this Recipe
- They’re ridiculously easy to make: Seriously, it doesn’t get much simpler than this. All you need are dill pickle chips, Colby cheese, and a packet of Ranch seasoning mix. No culinary degree required here, folks!
- They’re customizable: You can easily switch things up by trying different types of cheese, or even experimenting with other seasoning mixes. Have fun and make it your own!
- Keto Friendly:
- The main ingredients – dill pickle chips, Colby cheese, and Ranch seasoning mix – are all low in carbs, making them suitable for a ketogenic diet. Dill pickles themselves are low in calories and carbs, while cheese is a great source of fat and protein, both of which are essential for a keto diet.
Ingredients
- Dill Pickle Chips
- Colby Cheese, shredded
- Ranch Seasoning Mix
*see recipe card for amounts
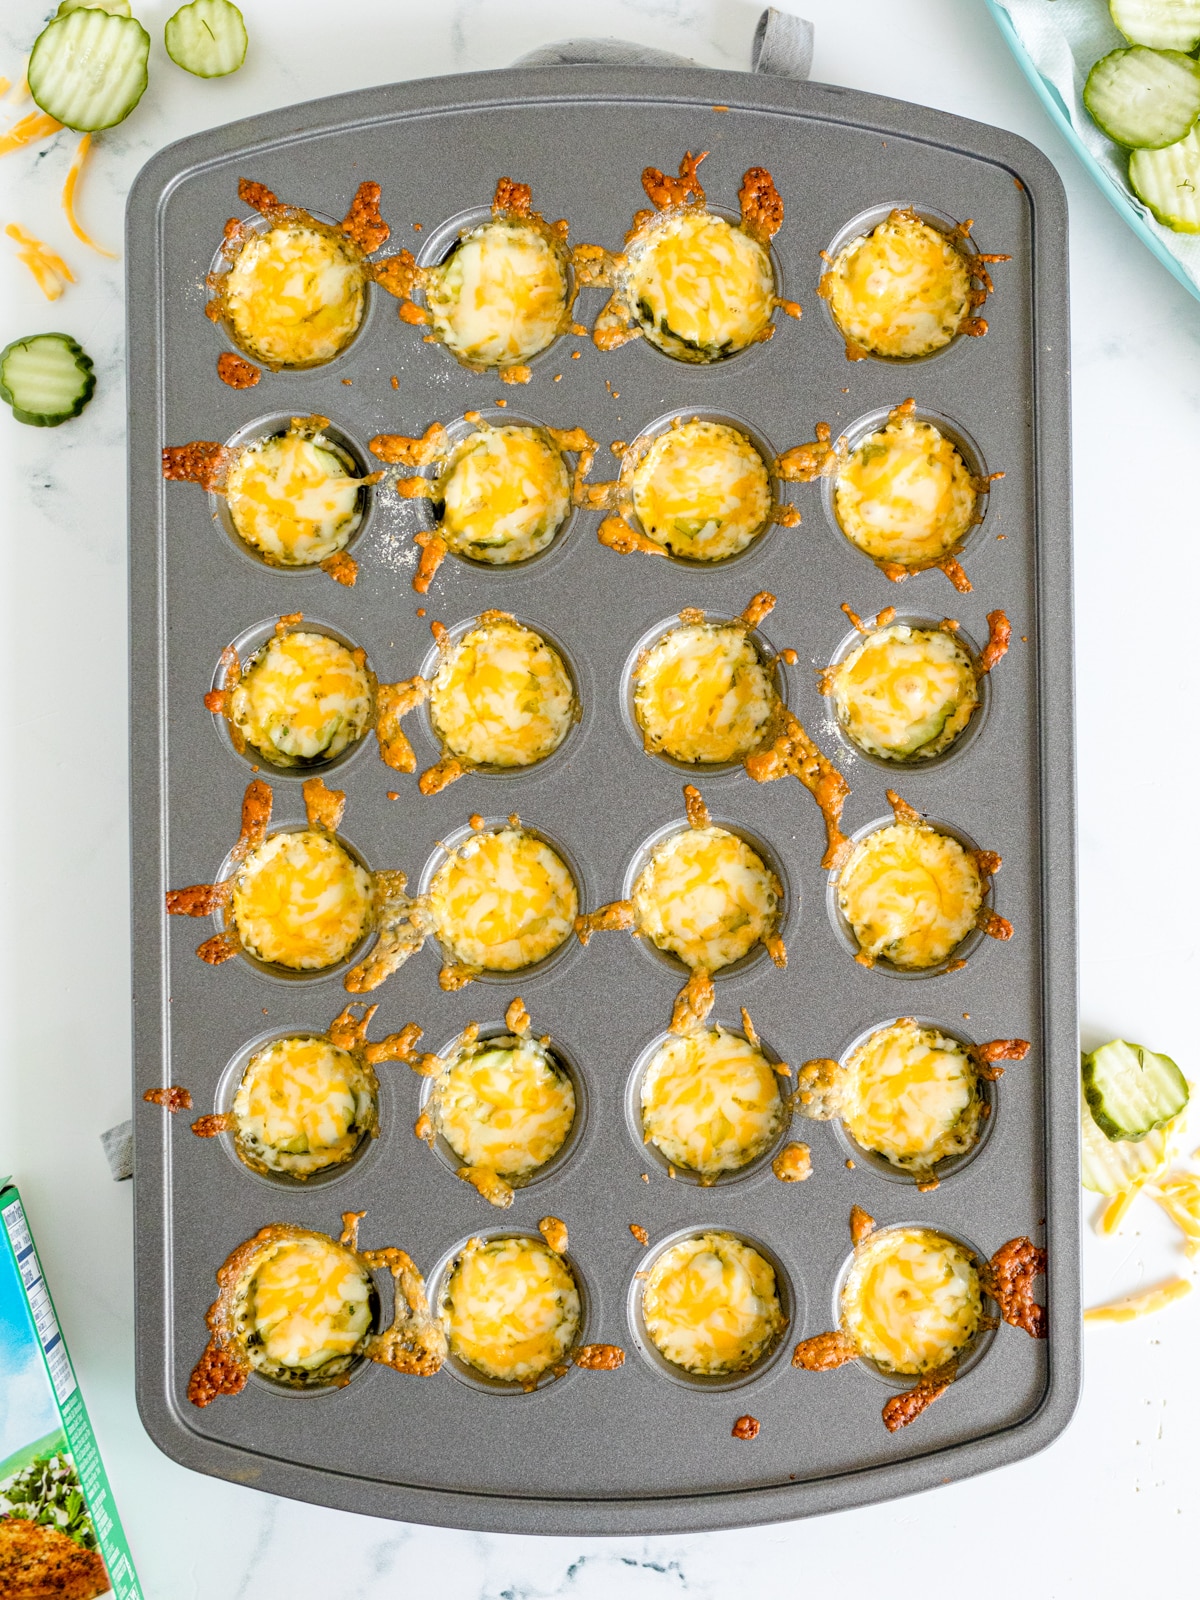
How to Make Cheesy Pickle Chips in the Oven
- Preheat your oven to 350 degrees F.
- Drain your dill pickle chips and pat them dry. Set aside.
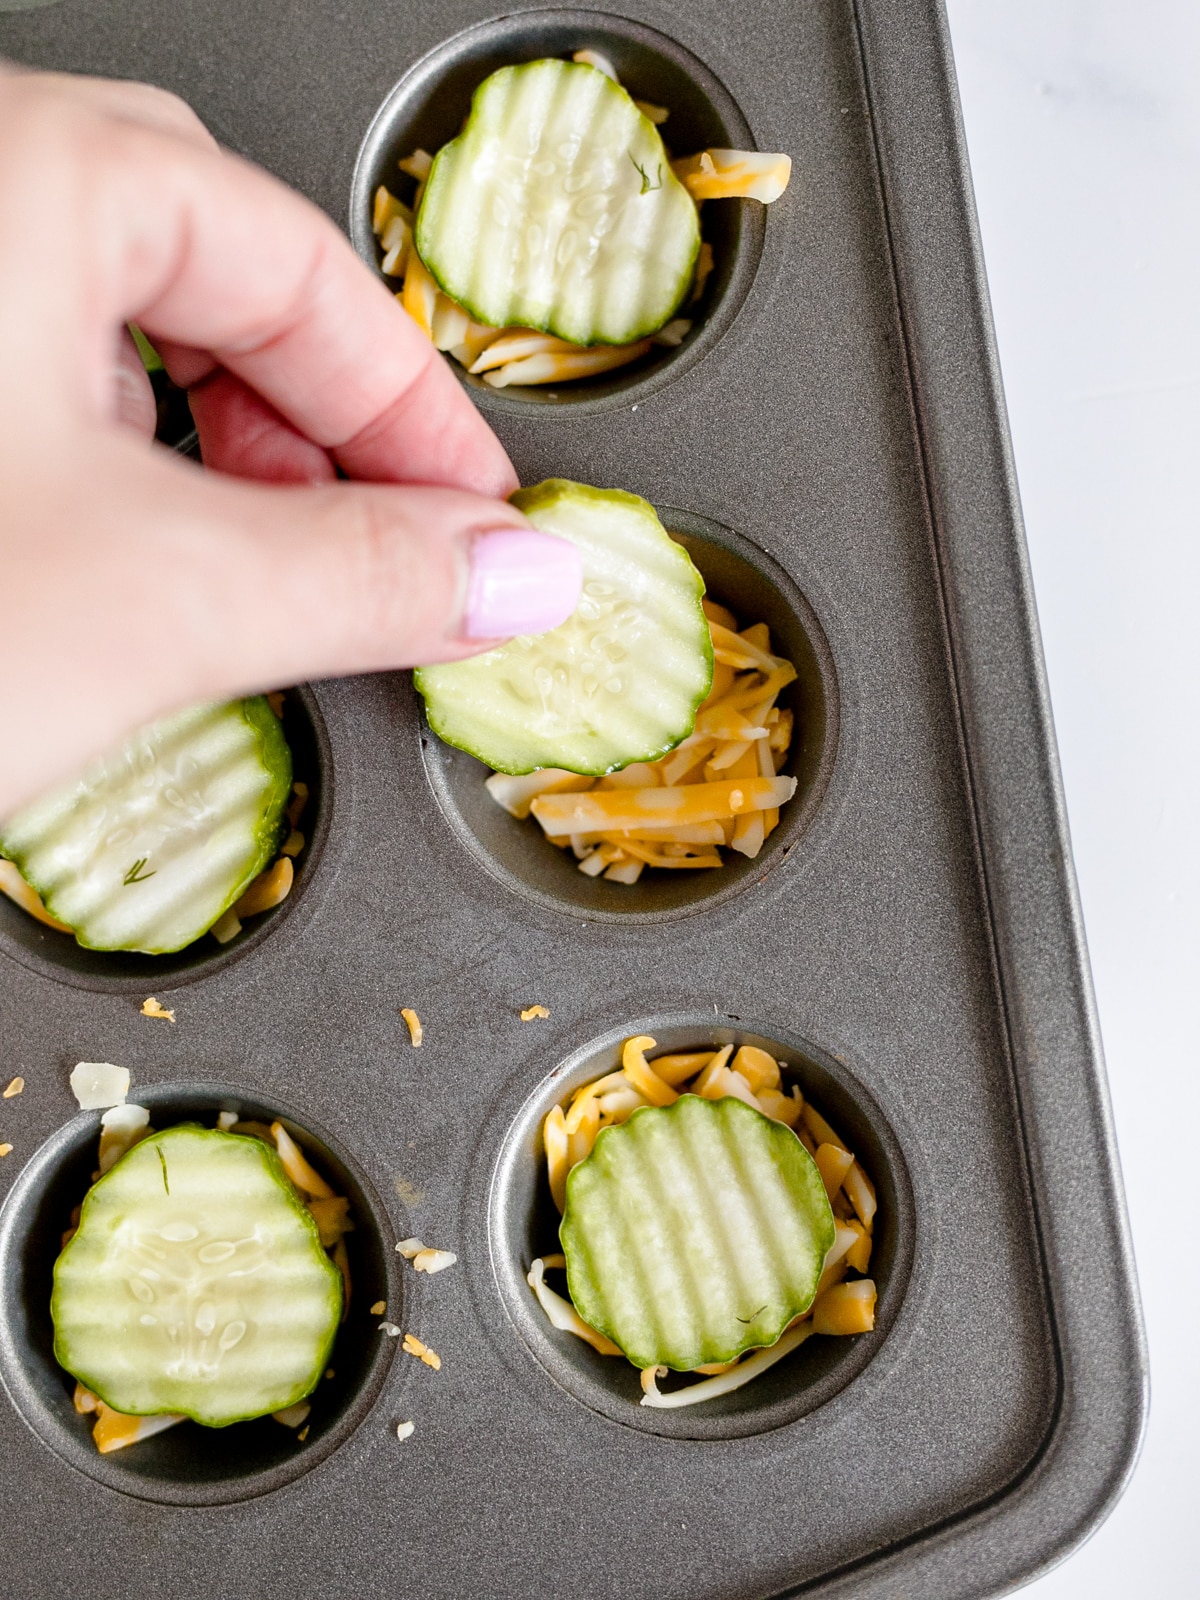
- Using a mini muffin pan, sprinkle about 1 tablespoon of shredded cheese in each tin.
- Next, add a dill pickle chip to each tin on top of the shredded cheese.
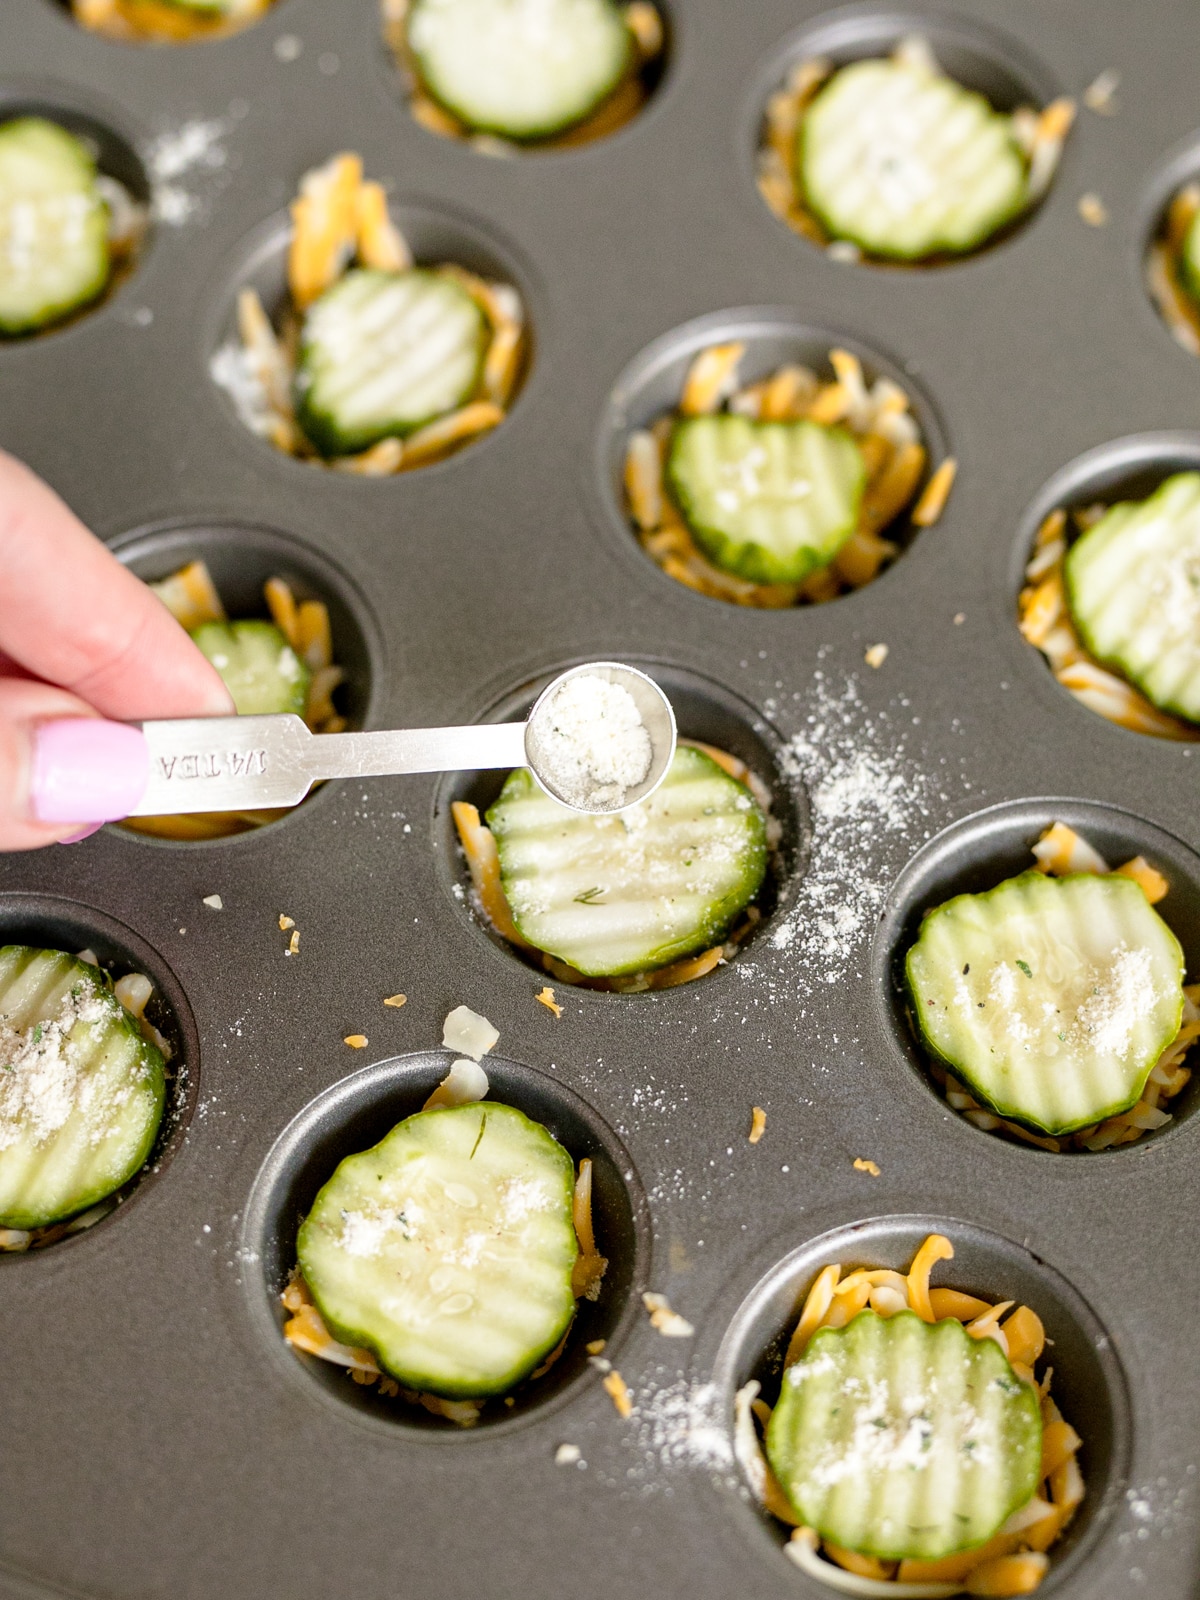
- Sprinkle dry Ranch seasoning evenly over each pickle. Then lightly top each tin with about ½ teaspoon more or shredded cheese.
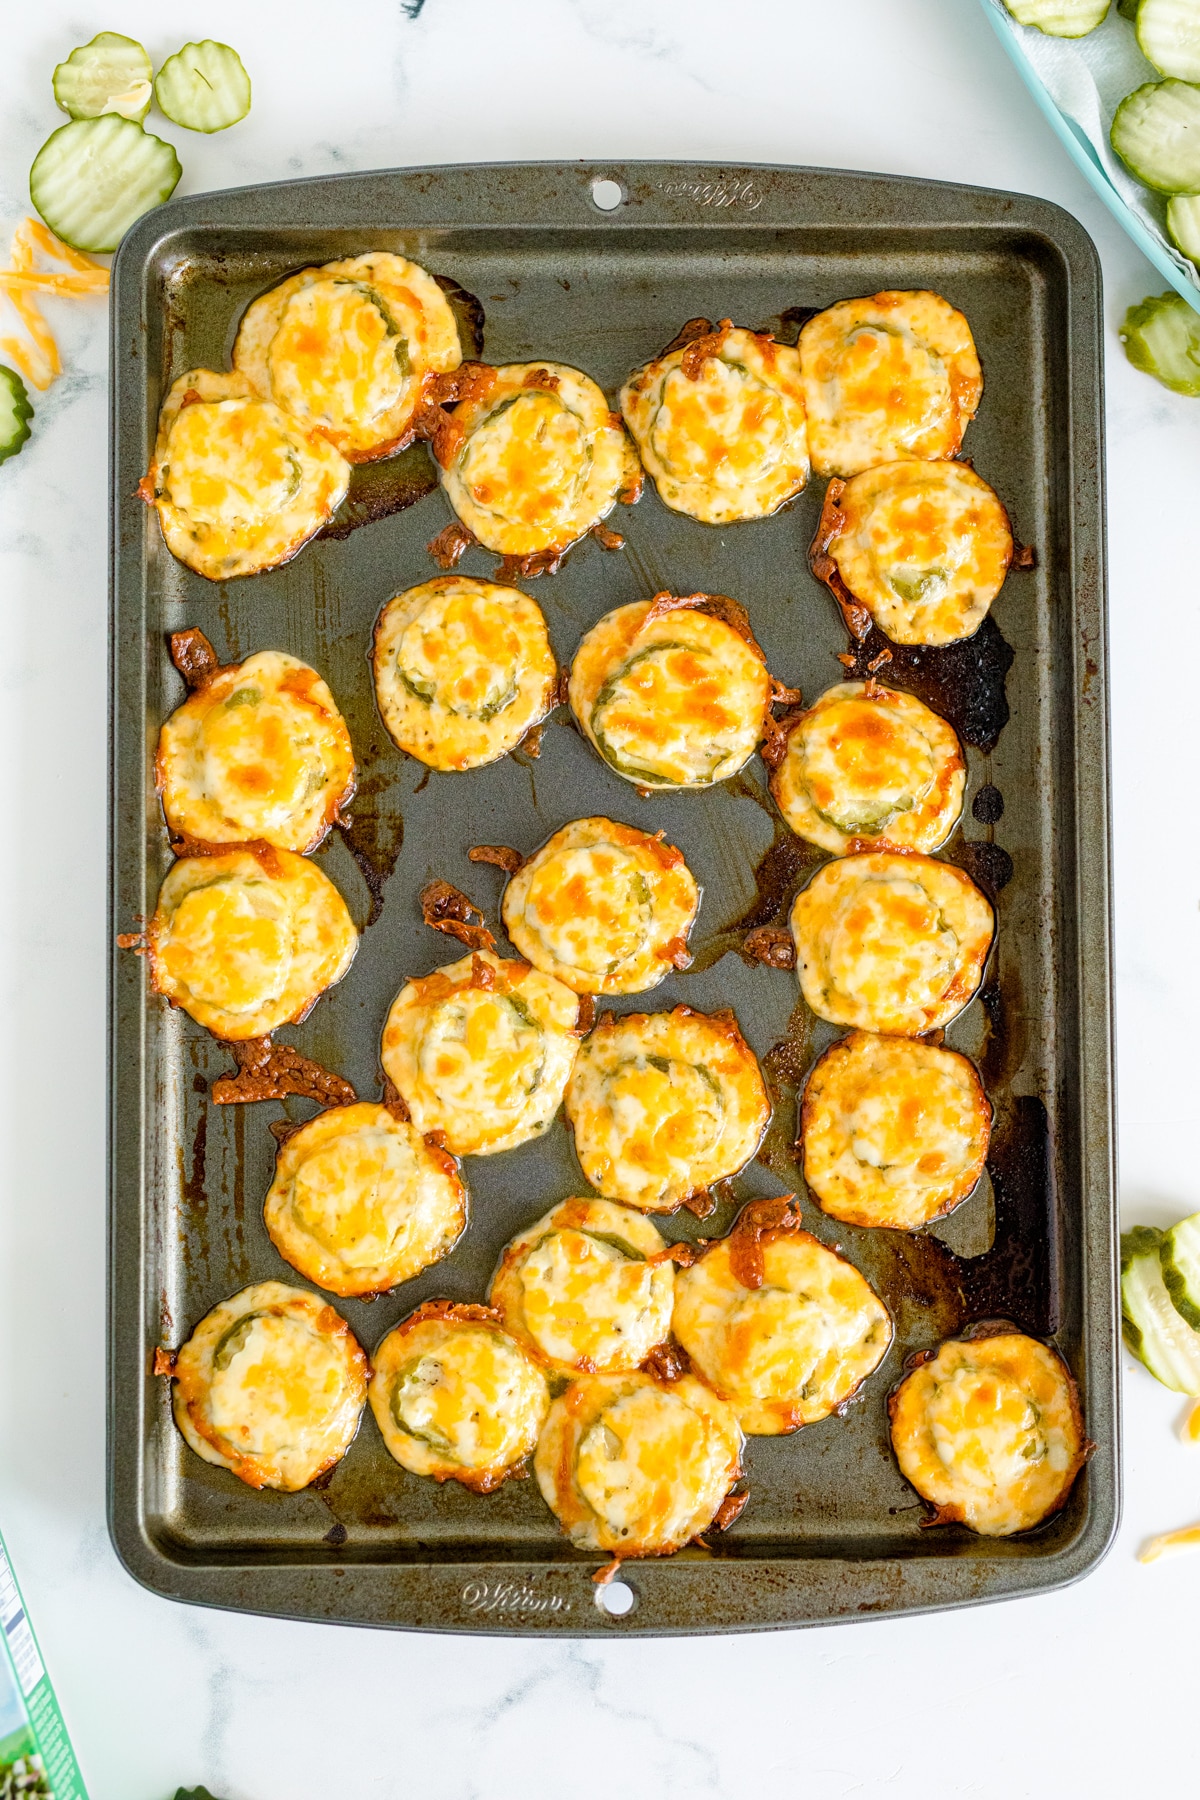
- Bake for about 6 minutes or until the cheese begins to brown and bubble. Remove the pan from the oven and allow the chips to cool for a bit, then place each of them on a paper towel to crisp up as they cool.
- If you really want to make them extra crispy, add them to a baking pan and broil for 2-3 more minutes!
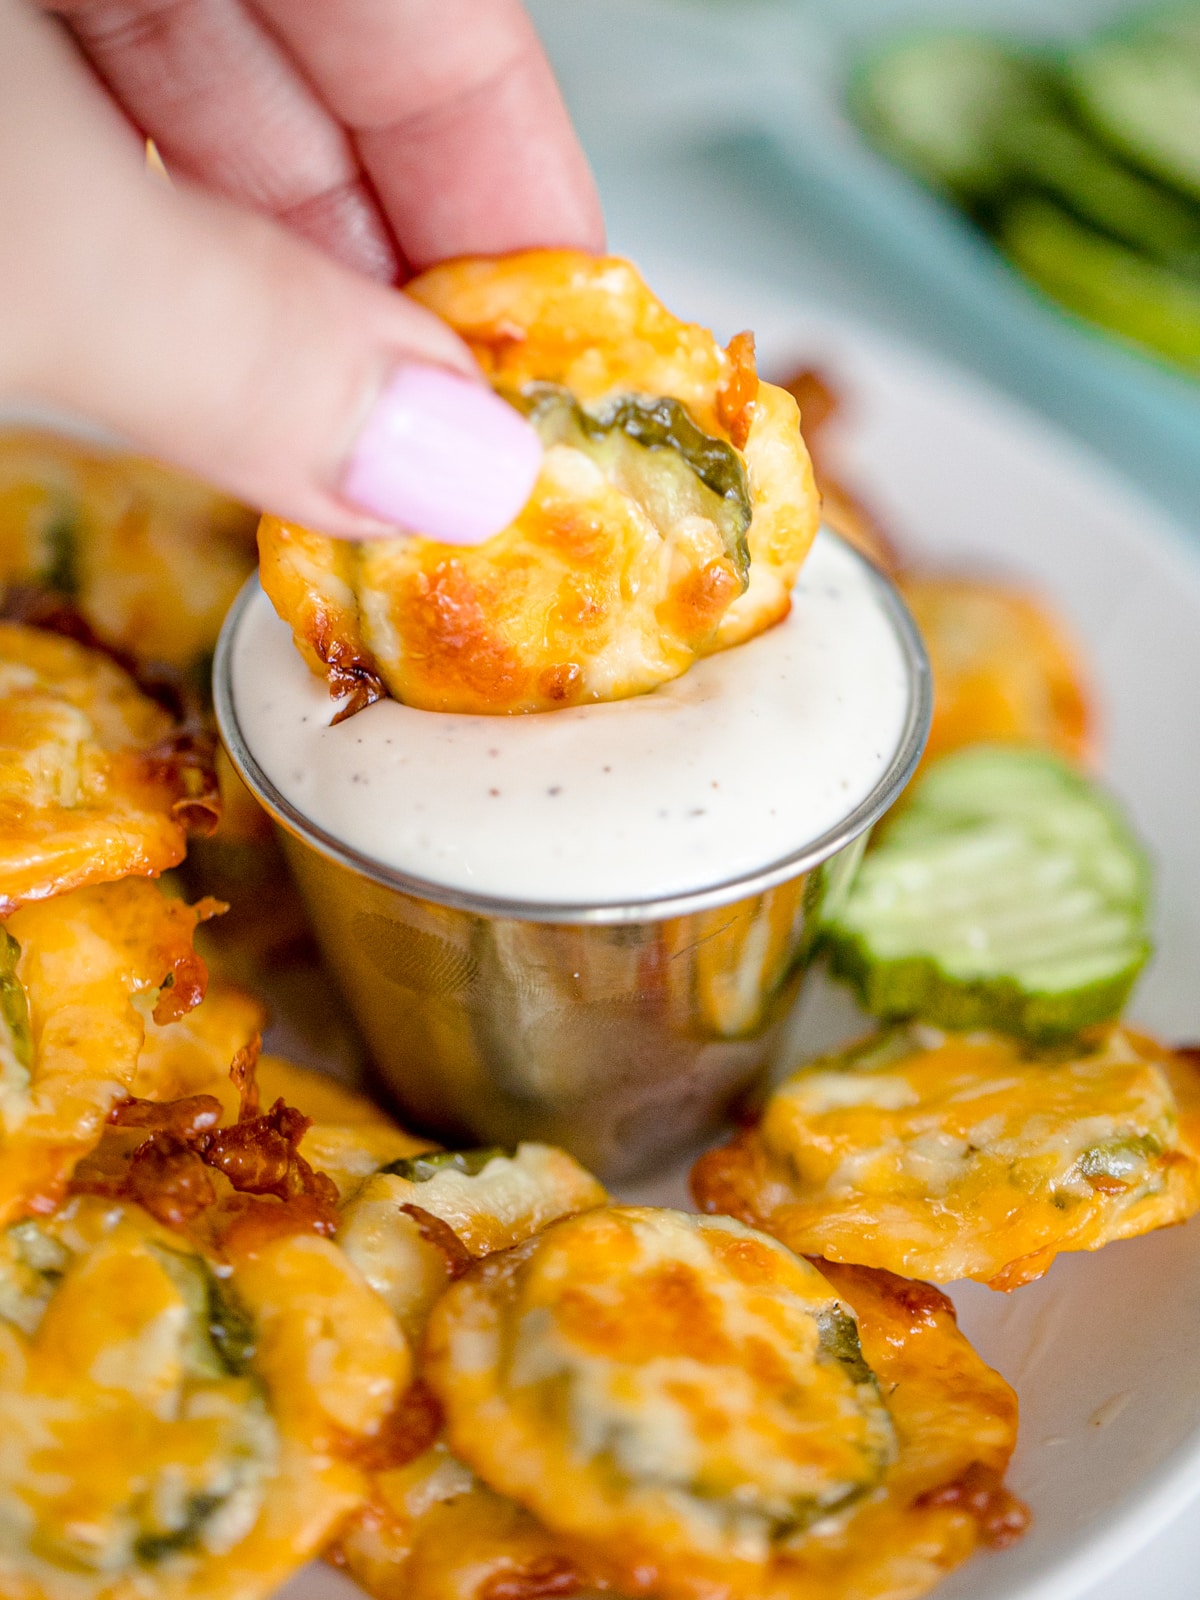
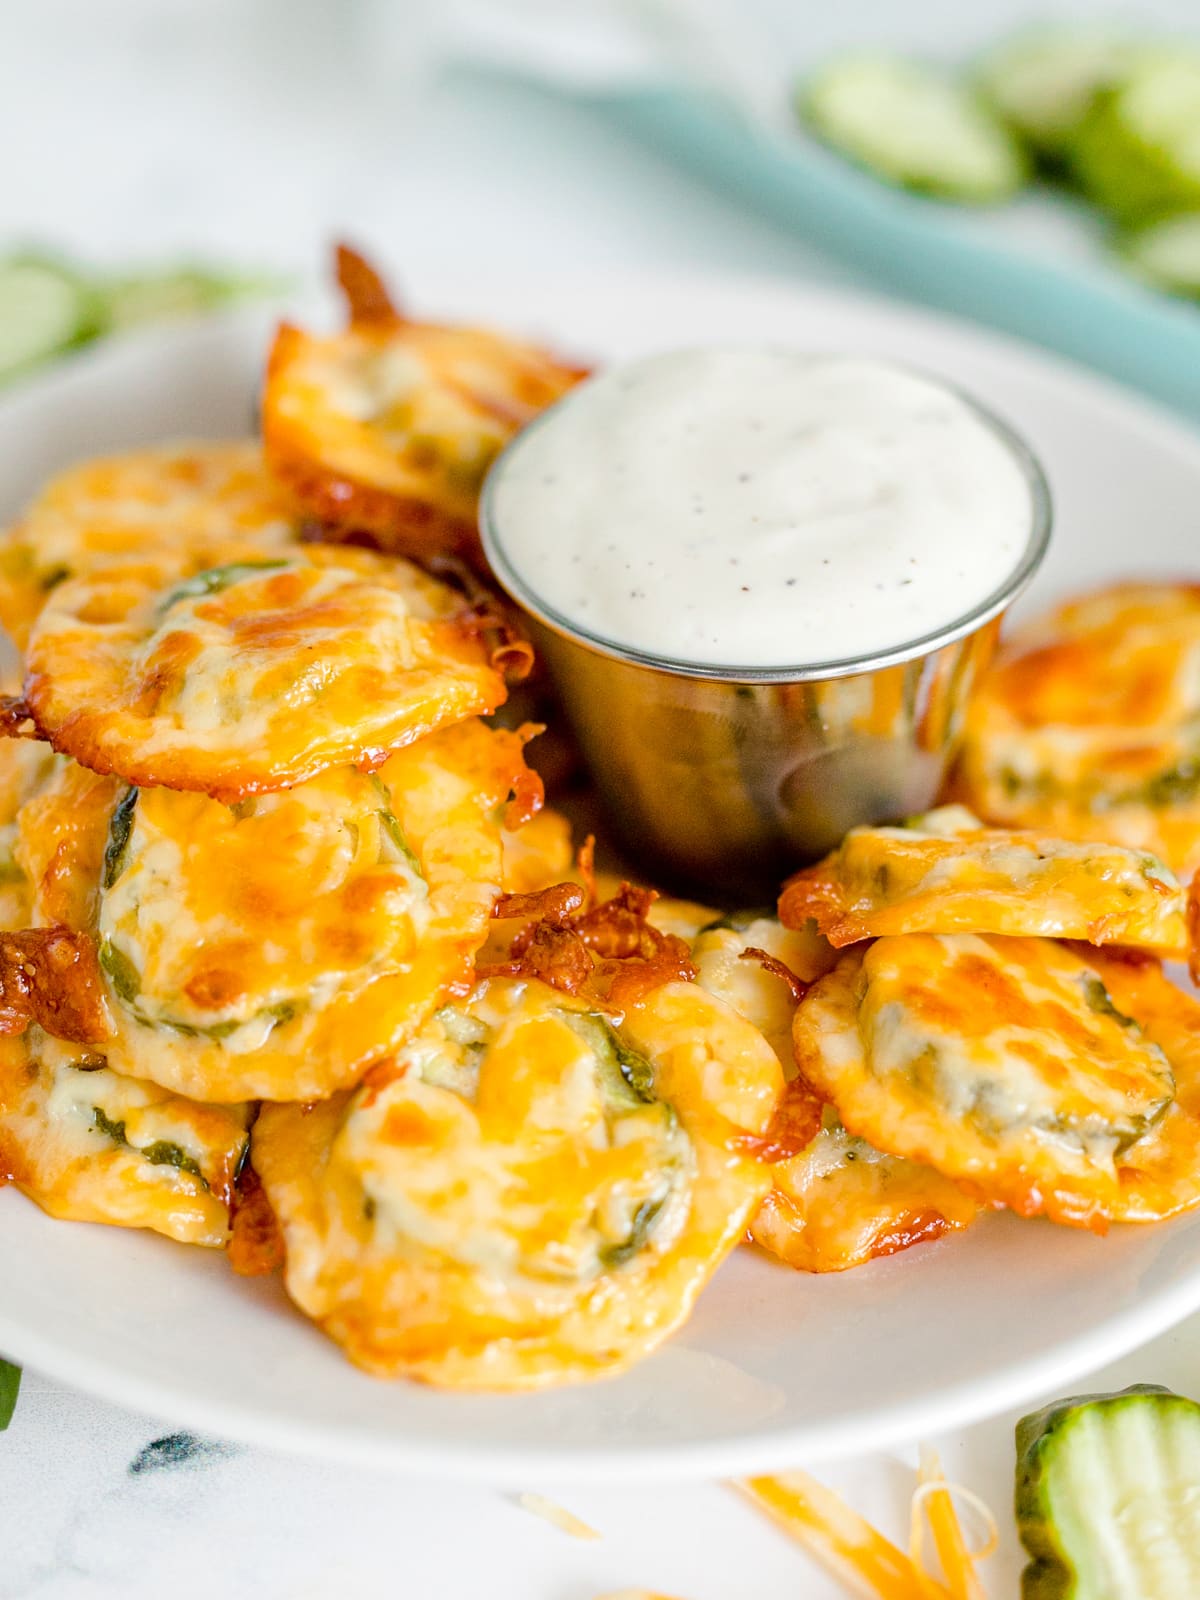
- Serve plain or with your favorite dip!
Storage and Reheating Notes
These Cheesy Pickle Chips are best enjoyed fresh, but let’s be real — sometimes we make too many, or maybe we want to save some for later. So how do we store and reheat them? Fear not, for we have the answers.
Storage: If you somehow manage to have leftovers (which, let’s be honest, is unlikely), store them in an airtight container in the refrigerator for up to 3 days. Make sure they’re cooled completely before storing to avoid any sogginess.
Reheating: To bring your Cheesy Pickle Chips back to life, preheat your oven to 350 degrees F and place the chips on a baking sheet. Heat for about 3-5 minutes, or until the cheese is melted and bubbly again. Be sure to keep an eye on them to avoid burning!
Helpful Tips & Substitutions
- Dry those pickles! Make sure you pat your pickle chips dry before placing them on the shredded cheese. This will help prevent any sogginess and keep your chips nice and crisp.
- Keep it cheesy. Don’t skimp on the cheese, folks. A generous layer on the bottom and a sprinkle on top will give you that perfect gooey, cheesy texture that makes these chips so irresistible.
- Use a mini muffin pan. The mini muffin pan is your secret weapon for this recipe. It creates the perfect little pocket for your pickle chip and keeps everything in place as the cheese melts.
- Watch your oven. Ovens can be fickle creatures, and temperatures may vary. Keep an eye on your Cheesy Pickle Chips as they bake to ensure that perfect golden-brown color without any overcooking mishaps.
- Get creative with dips. While these Cheesy Pickle Chips are fantastic on their own, you can take them to the next level by serving them with your favorite dip. Think ranch, blue cheese, or even a spicy buffalo sauce!
Looking for more Fun Appetizers? Try these!
EQUIPMENT
- Mini Muffin Tin
INGREDIENTS
- 24 Dill Pickles, hamburger chips
- 2 cups Cheese, shredded
- 3 tbsp Ranch Seasoning, dry spices packet
INSTRUCTIONS
- Preheat your oven to 350 degrees F.
- Drain your dill pickle chips and pat them dry. Set aside.
- Using a mini muffin pan, sprinkle about 1 tablespoon of shredded cheese in each tin.
- Next, add a dill pickle chip to each tin on top of the shredded cheese.
- Sprinkle dry Ranch seasoning evenly over each pickle. Then lightly top each tin with about ½ teaspoon more or shredded cheese.
- Bake for about 6 minutes or until the cheese begins to brown and bubble. Remove the pan from the oven and allow the chips to cool for a bit, then place each of them on a paper towel to crisp up as they cool.
- Serve plain or with your favorite dip!
NOTES
Storage and Reheating Notes
These Cheesy Pickle Chips are best enjoyed fresh, but let’s be real — sometimes we make too many, or maybe we want to save some for later. So how do we store and reheat them? Fear not, for we have the answers.- Storage: If you somehow manage to have leftovers (which, let’s be honest, is unlikely), store them in an airtight container in the refrigerator for up to 3 days. Make sure they’re cooled completely before storing to avoid any sogginess.
- Reheating: To bring your Cheesy Pickle Chips back to life, preheat your oven to 350 degrees F and place the chips on a baking sheet. Heat for about 3-5 minutes, or until the cheese is melted and bubbly again. Be sure to keep an eye on them to avoid burning!


