COLORFUL
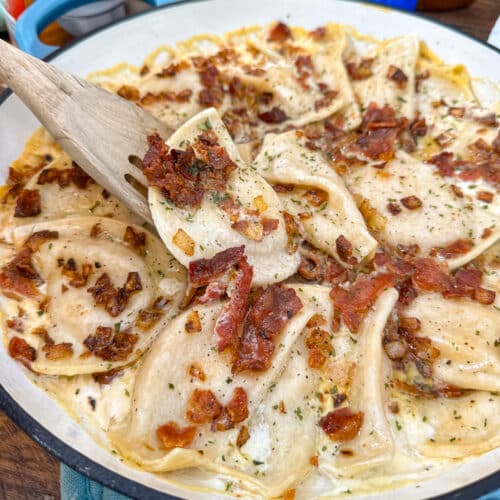
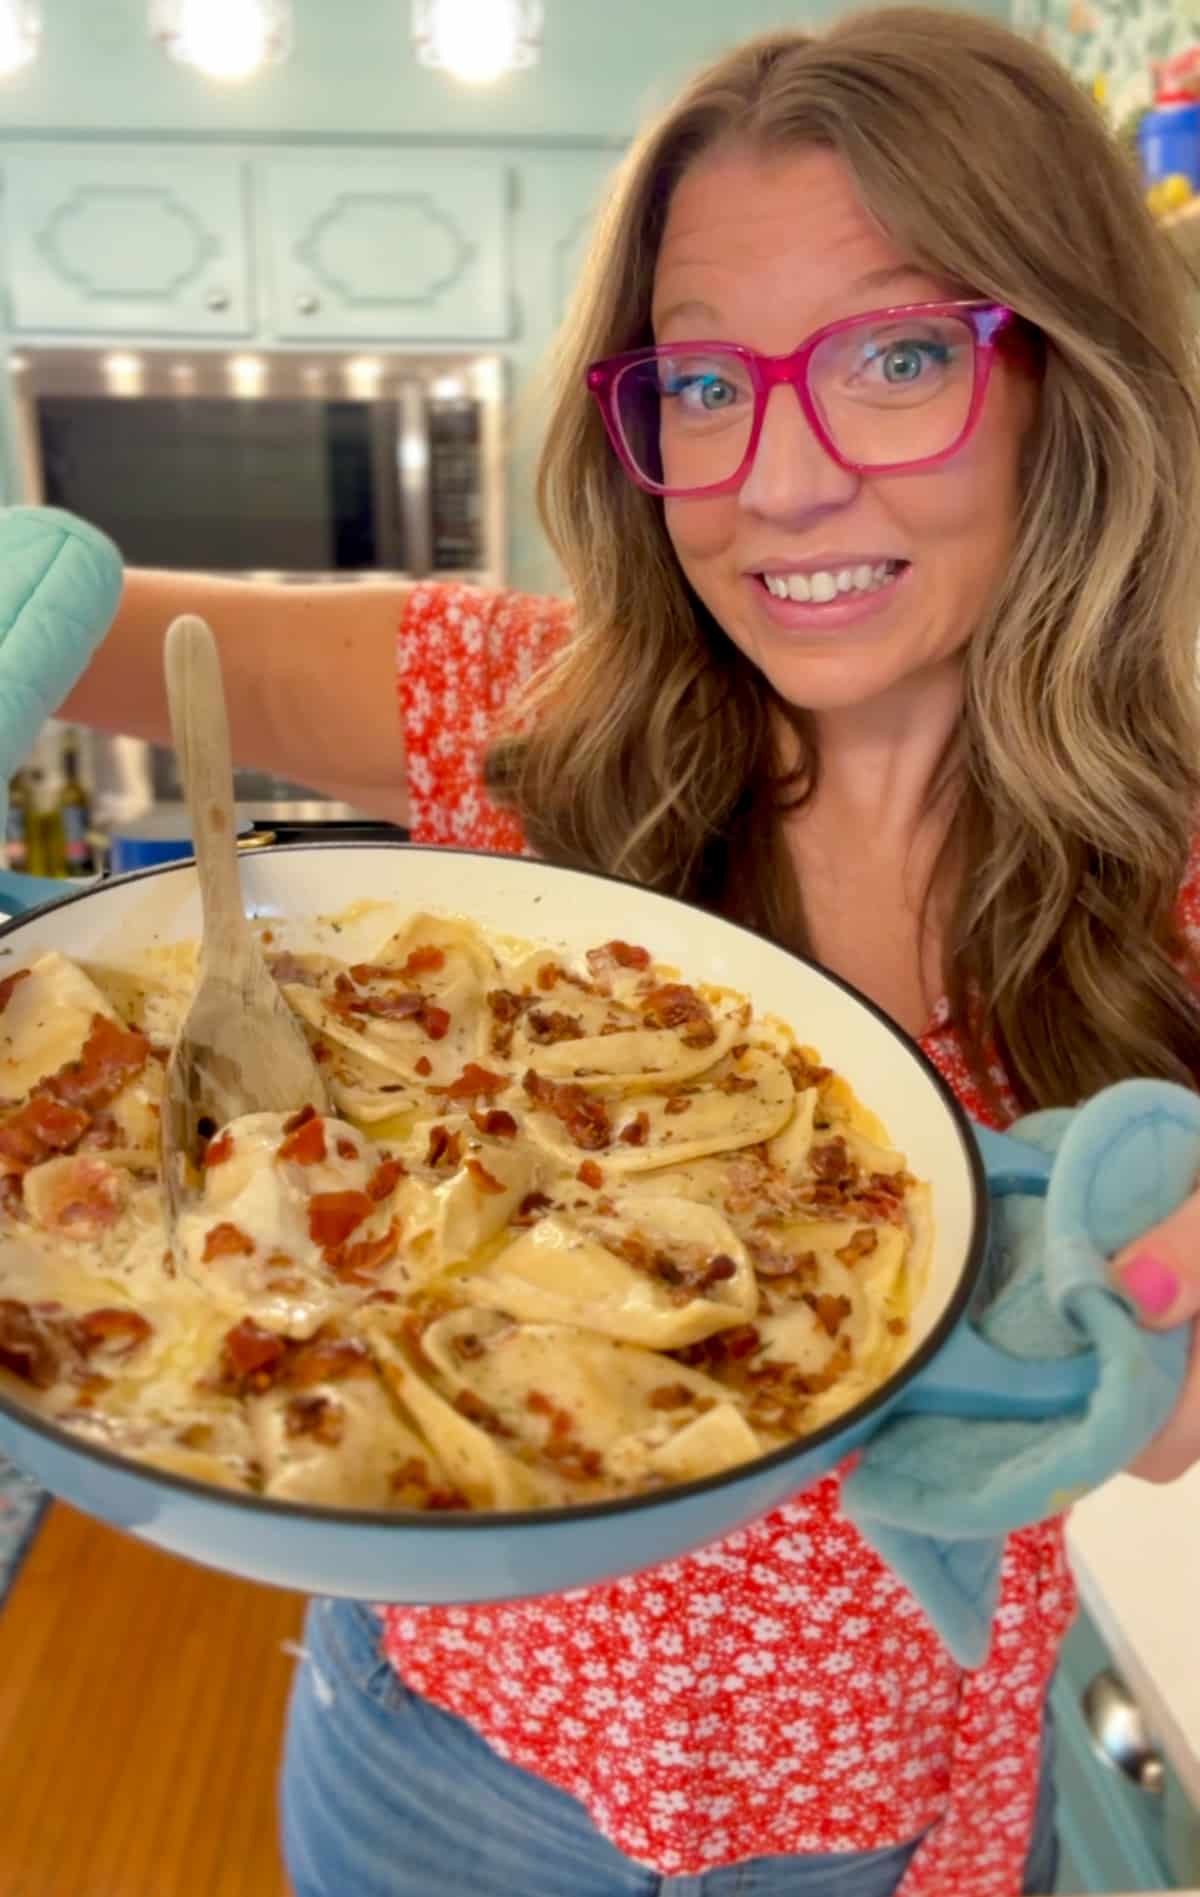
When it comes to comfort food, nothing quite hits the spot like a warm, hearty plate of Pierogies. These little pockets of joy, filled with creamy potatoes and cheese, are a staple in many kitchens—and for good reason. They’re versatile, easy to prepare, and oh-so-satisfying.

Ingredients:
Prep Time: 20 minutes | Total Time: 55 minutes | Servings: 6
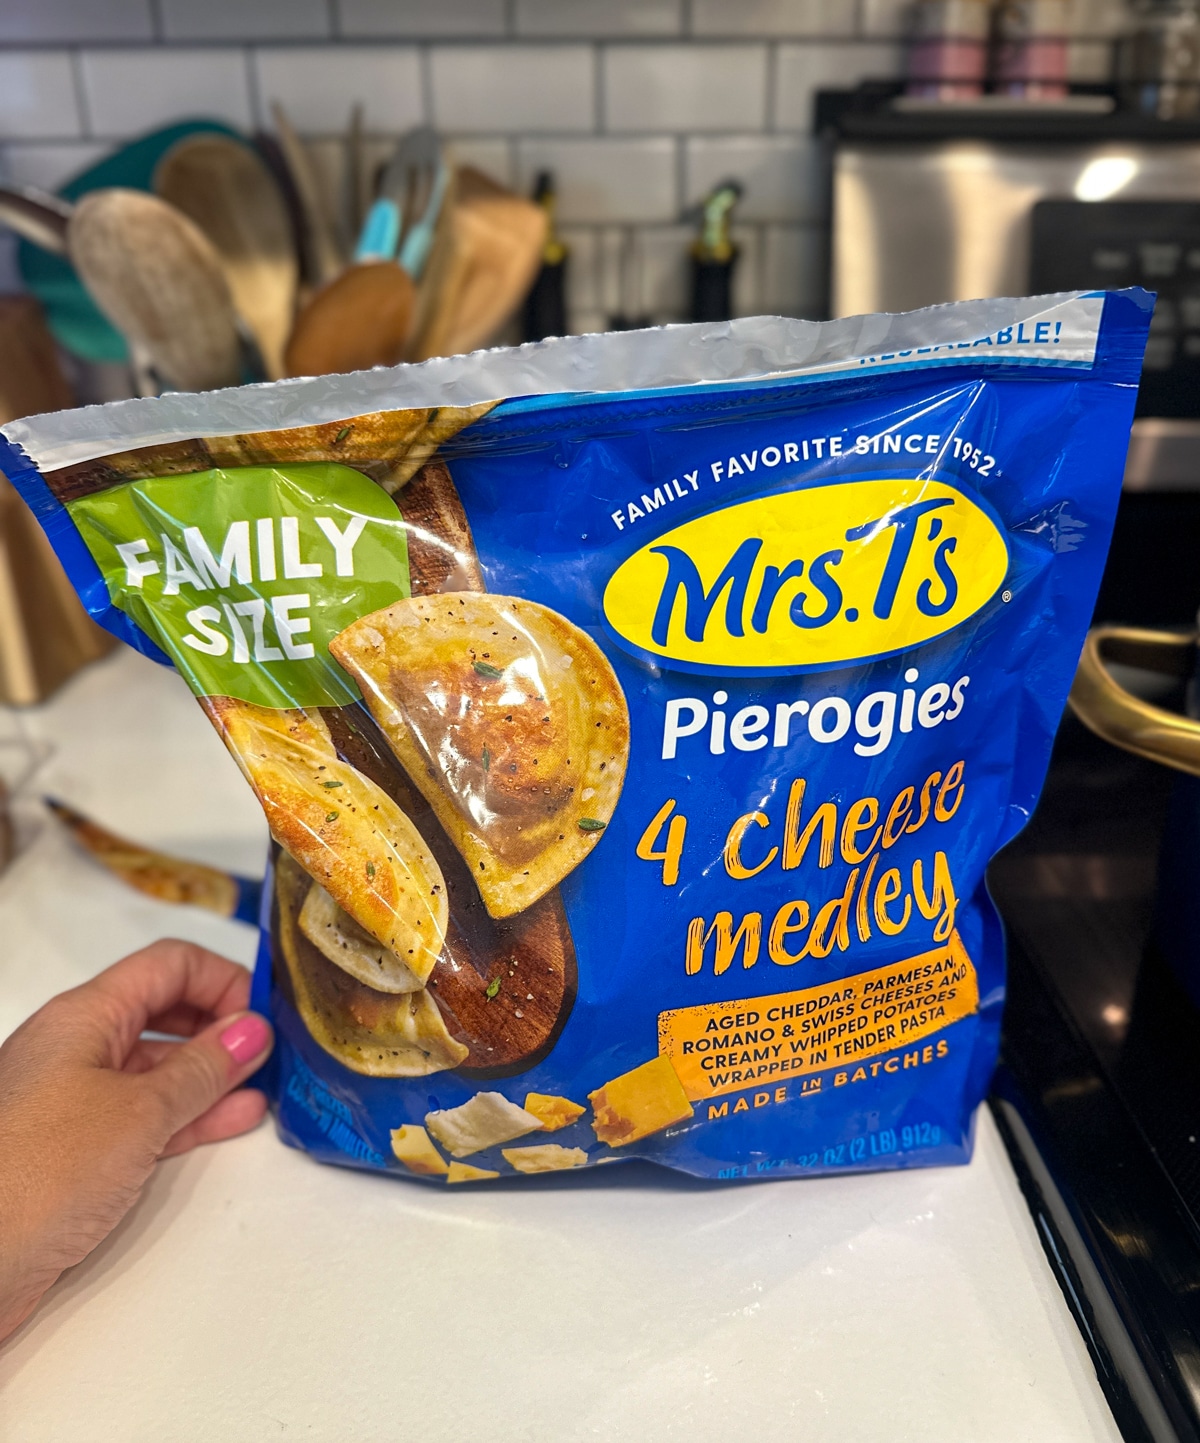
- 32 ounces Frozen Pierogies, potato & cheese
- 1 medium Onion, diced
- 8 strips of Bacon
- 1 ½ cups Heavy Cream
- 1 stick Butter, melted
Instructions:
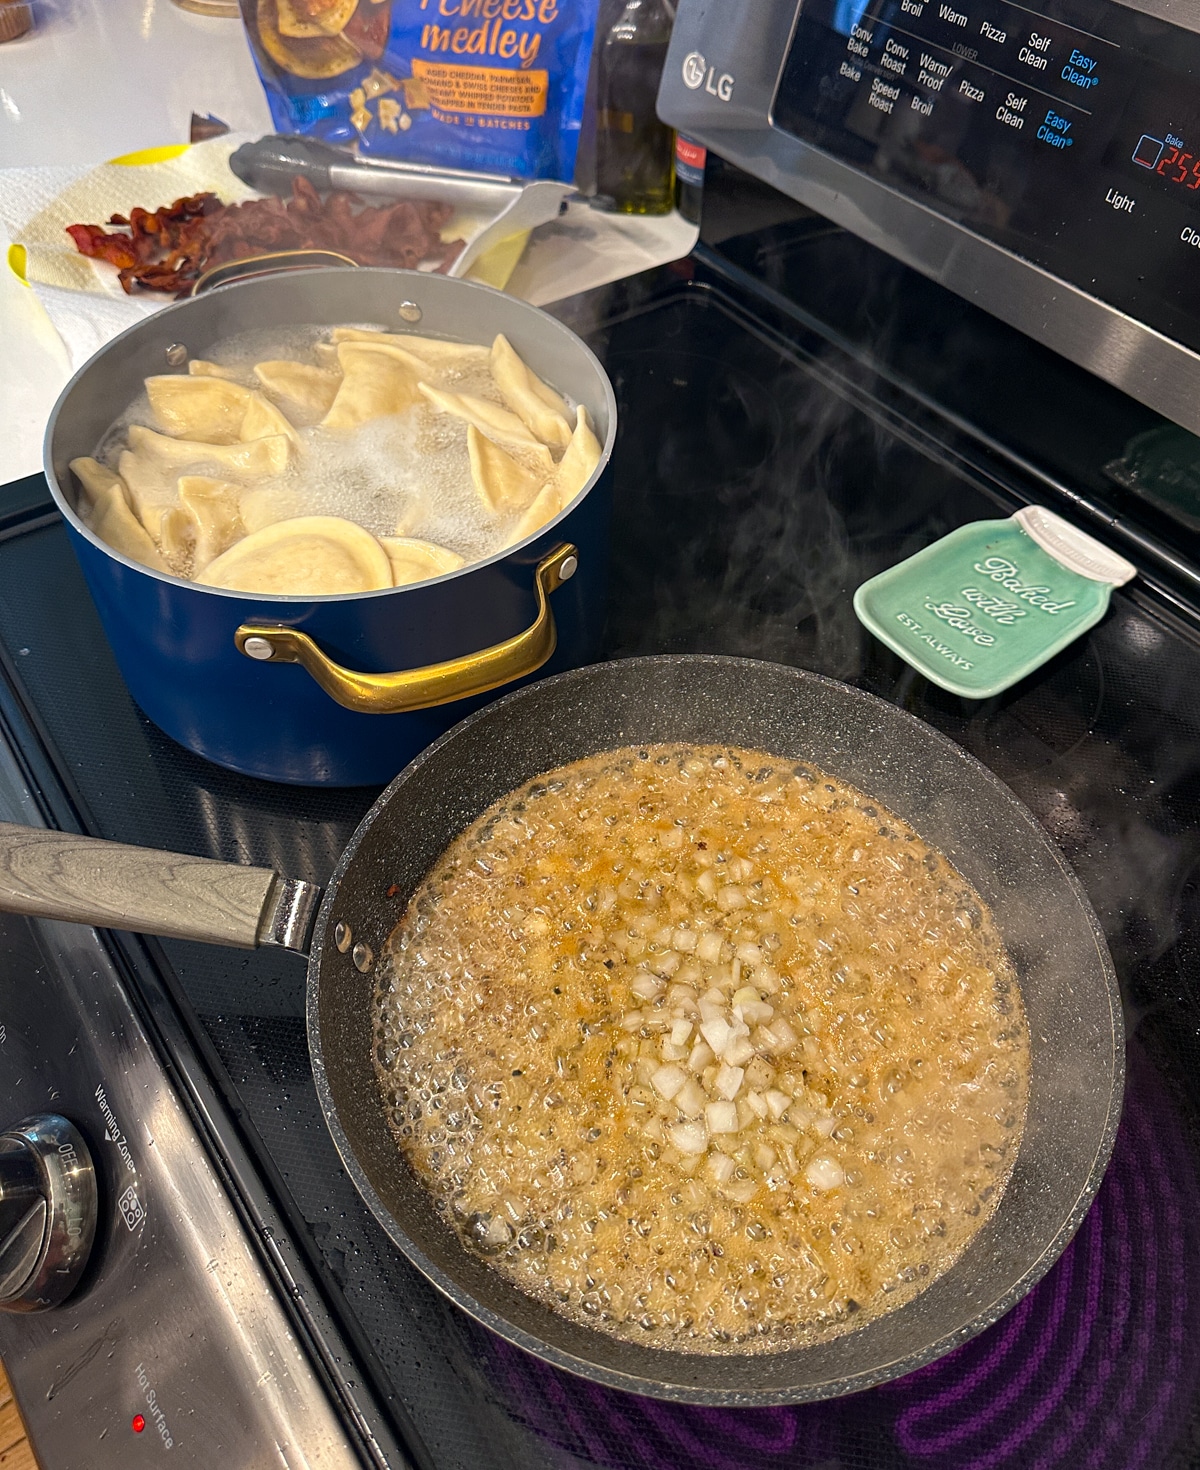
- In a large pan, bring water to a rapid boil and add the frozen pierogies. Boil according to package directions (about 10 minutes) until cooked through. They will puff up and float when done. Strain and set aside.
- While the pierogies are boiling,fry the bacon until crispy then set on a towel lined plate to drain and crumble. Leave grease in the pan.
- Add your diced onions to the bacon grease in your pan and saute until cooked through and golden. Remove from the heat and drain.
- Preheat your oven to 350°F (175°C).
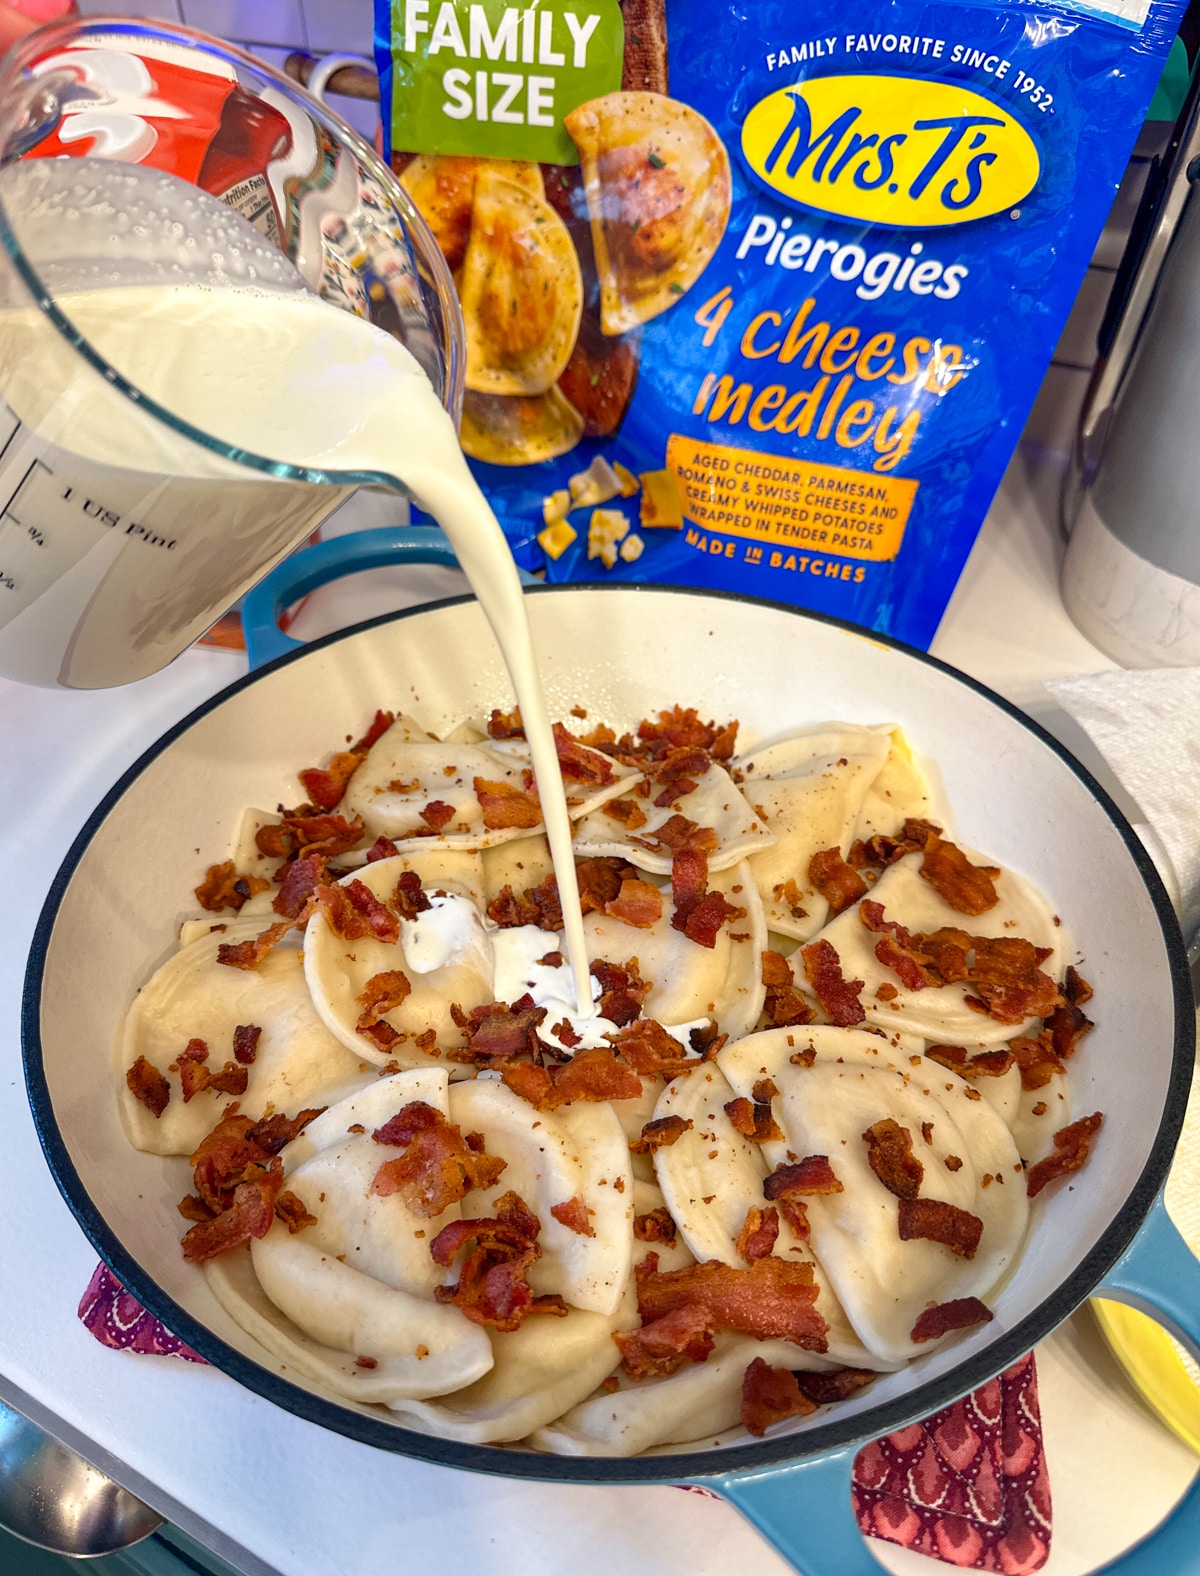
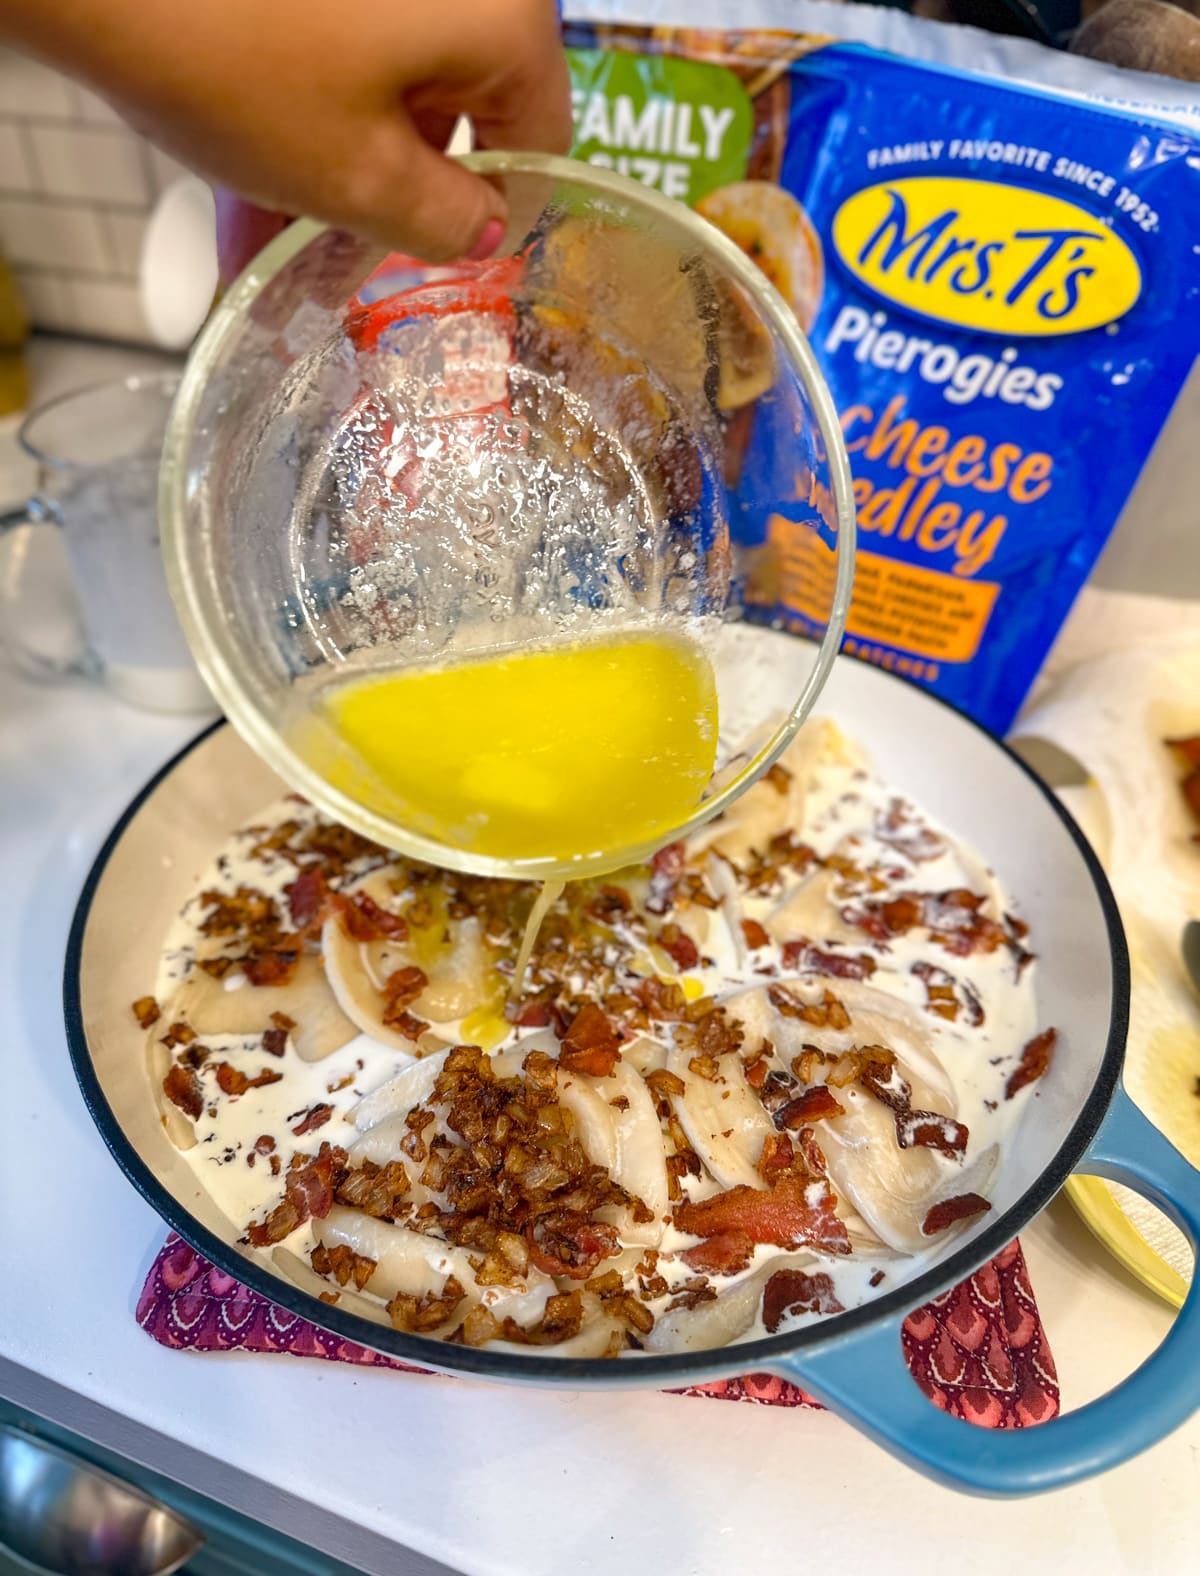
- Spray a 9X13 casserole dish with cooking spray, then pour the drained pierogies into the pan. Pour the heavy cream and melted butter evenly over the pierogies.
- Add the sauteed onions evenly over top and sprinkle on the crumbled bacon. Gently fold the ingredients together so they are somewhat mixed in.
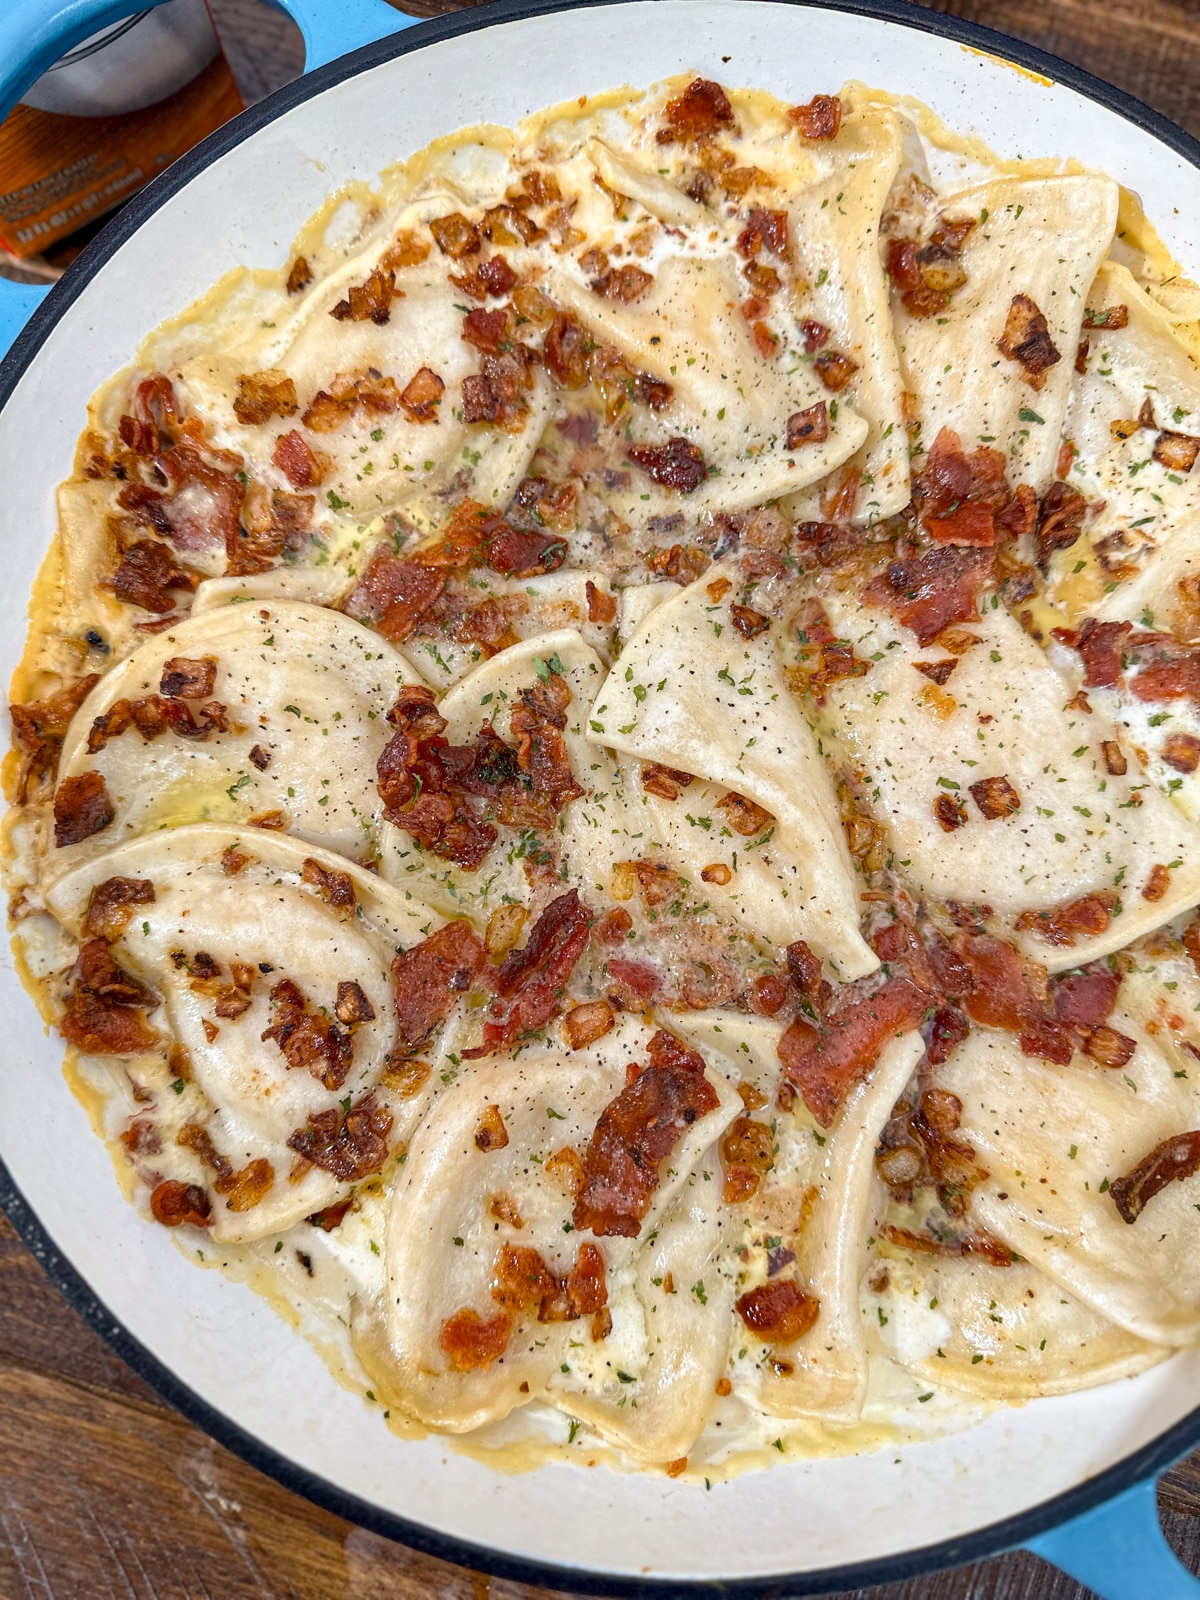
- Place in the oven and bake for 30 minutes or until heated through and bubbly.
Storage and Reheating Instructions:
Once your Pierogies have cooled to room temperature, transfer any leftovers into an airtight container. You can store them in the refrigerator for up to 3 days or they will keep in the freezer for up to 3 months.
To reheat place the leftovers in an oven-safe dish, cover with foil, and heat for about 20 minutes or until warmed through. If you’re in a hurry you can warm them in the microwave for 1-2 minutes.
Helpful Tips & Substitutions
Can This Be Made Ahead of Time?
Absolutely! You can assemble the casserole a day ahead of time and store it in the refrigerator until you’re ready to bake.
Substitutions & Variations
- Cheese Lovers-if you’re a cheese fanatic, feel free to add some shredded cheese to the mix.
- Vegetarian Option-To make this dish vegetarian, simply omit the bacon and use olive oil or butter to sauté the onions.
- Spice it Up-If you like a little heat, try adding some diced jalapeños or a pinch of red pepper flakes to the onion mixture. A drizzle of hot sauce over the finished dish would also be a great way to add some kick.
Helpful Cooking Notes
- Don’t Overcook the Pierogies-It’s important not to overcook the pierogies during the boiling step. Remember, they’ll be baked in the oven as well, so you want them to be tender but not mushy. Keep an eye on them, and as soon as they puff up and float, they’re done.
- Use a High-Quality Cream-Since the cream is a key ingredient in this recipe, using a high-quality heavy cream can make a big difference.
- Let It Rest-After baking, let the casserole rest for a few minutes before serving. This allows the sauce to thicken slightly and makes it easier to serve.
Try Some of our Other Favorite Side Dish Recipes
INGREDIENTS
- 32 ounces Frozen Pierogies, potato & cheese
- 1 medium Onion, diced
- 8 strips of Bacon
- 1 ½ cups Heavy Cream
- 1 stick Butter, melted
INSTRUCTIONS
- In a large pan, bring water to a rapid boil and add the frozen pierogies. Boil according to package directions (about 10 minutes) until cooked through. They will puff up and float when done. Strain and set aside.
- While the pierogies are boiling,fry the bacon until crispy then set on a towel lined plate to drain and crumble. Leave grease in the pan.
- Add your diced onions to the bacon grease in your pan and saute until cooked through and golden. Remove from the heat and drain.
- Preheat your oven to 350°F (175°C).
- Spray a 9X13 casserole dish with cooking spray, then pour the drained pierogies into the pan. Pour the heavy cream and melted butter evenly over the pierogies.
- Add the sauteed onions evenly over top and sprinkle on the crumbled bacon. Gently fold the ingredients together so they are somewhat mixed in.
- Place in the oven and bake for 30 minutes or until heated through and bubbly.
NOTES
Storage and Reheating Instructions:
Once your Pierogies have cooled to room temperature, transfer any leftovers into an airtight container. You can store them in the refrigerator for up to 3 days or they will keep in the freezer for up to 3 months. To reheat place the leftovers in an oven-safe dish, cover with foil, and heat for about 20 minutes or until warmed through. If you’re in a hurry you can warm them in the microwave for 1-2 minutes.Helpful Tips & Substitutions
Can This Be Made Ahead of Time?
Absolutely! You can assemble the casserole a day ahead of time and store it in the refrigerator until you’re ready to bake.Substitutions & Variations
- Cheese Lovers-if you’re a cheese fanatic, feel free to add some shredded cheese to the mix.
- Vegetarian Option-To make this dish vegetarian, simply omit the bacon and use olive oil or butter to sauté the onions.
- Spice it Up-If you like a little heat, try adding some diced jalapeños or a pinch of red pepper flakes to the onion mixture. A drizzle of hot sauce over the finished dish would also be a great way to add some kick.
Helpful Cooking Notes
- Don’t Overcook the Pierogies-It’s important not to overcook the pierogies during the boiling step. Remember, they’ll be baked in the oven as well, so you want them to be tender but not mushy. Keep an eye on them, and as soon as they puff up and float, they’re done.
- Use a High-Quality Cream-Since the cream is a key ingredient in this recipe, using a high-quality heavy cream can make a big difference.
- Let It Rest-After baking, let the casserole rest for a few minutes before serving. This allows the sauce to thicken slightly and makes it easier to serve.


